Ninja Foodi Chili is the ultimate comfort meal that combines effortless cooking and irresistible flavors. With this pressure cooker chili recipe, chili lovers are bound to fall in love at first bite.
This post may contain affiliate links. If you click on a link and make a purchase, I may receive a small commission at no extra cost to you. For more information, please read my disclaimer.

A delicious main course has never been so easy to make. Once you try this quick and easy Ninja Foodi chili recipe, you’ll never go back!
This amazing appliance opens a world of possibilities, effortlessly combining the ease of air fryer chili with the delicious outcome of pressure cooking. No more watching the stove, stirring occasionally throughout the day. You can make a mild chili or a bold flavor explosion — the possibilities are endless when you start from scratch.
Whether you’re craving a classic slow cooked masterpiece or seeking a fast and flavorful creation, this pressure cooker chili recipe suits every taste. You’ll never need to look for another good chili recipe — this is the one your family will ask for again and again!
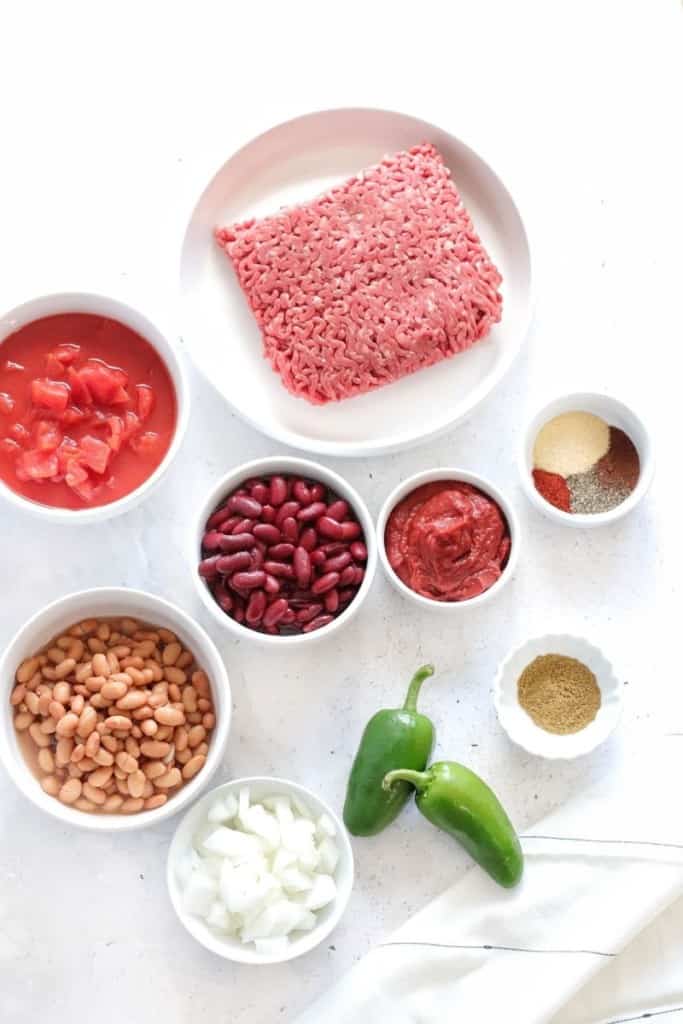
How to Make Chili in the Ninja Foodi
A full printable version of this recipe with ingredient measurements is available at the bottom of this post.
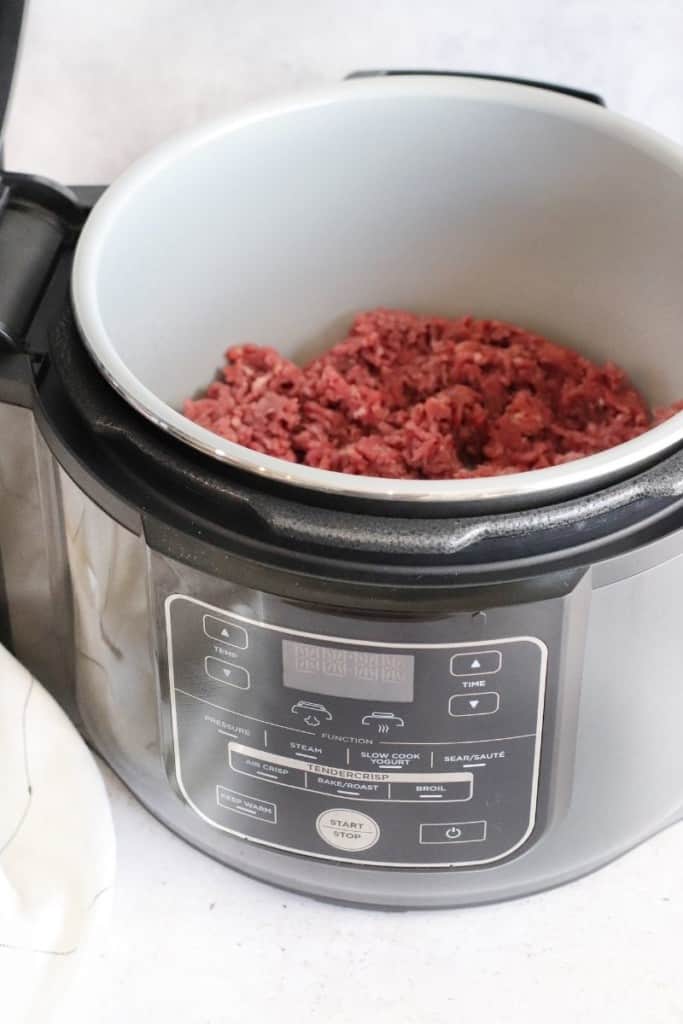
STEP ONE: Start by turning on the Ninja Foodi and pressing the Sauté button. Set the heat to High, add the ground beef, and sauté until it is nicely browned.
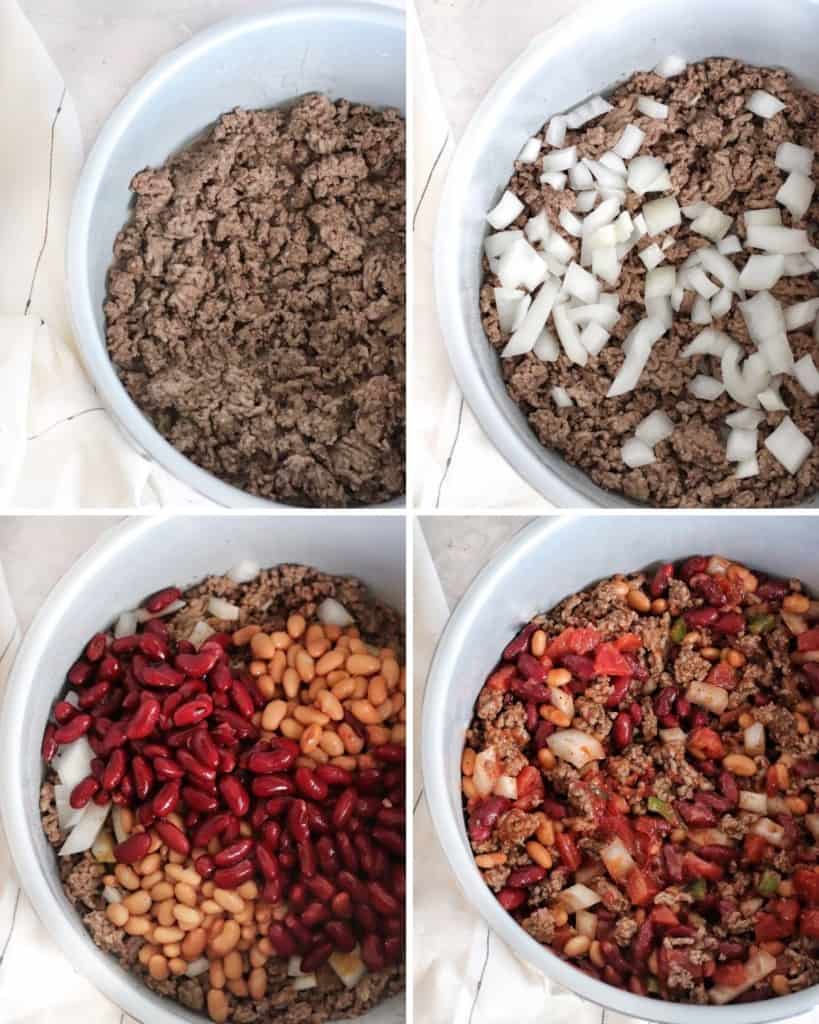
STEP TWO: Remove the inner pot from the Ninja Foodi and drain the excess grease from the browned hamburger meat. Place the pot back into the Ninja Foodi, then stir in the chopped onions and spices. Add the remaining ingredients to the quick chili and stir until well combined.
STEP THREE: Securely place the pressure cooker lid on the Ninja Foodi. Make sure the steam valve nozzle is turned to the “seal” position. Set the appliance to cook on high pressure for approximately 10 minutes.
STEP FOUR: Once the timer goes off, allow a natural pressure release for about 4 minutes. Then, carefully perform a manual quick release before opening the lid. Be cautious of the hot steam!
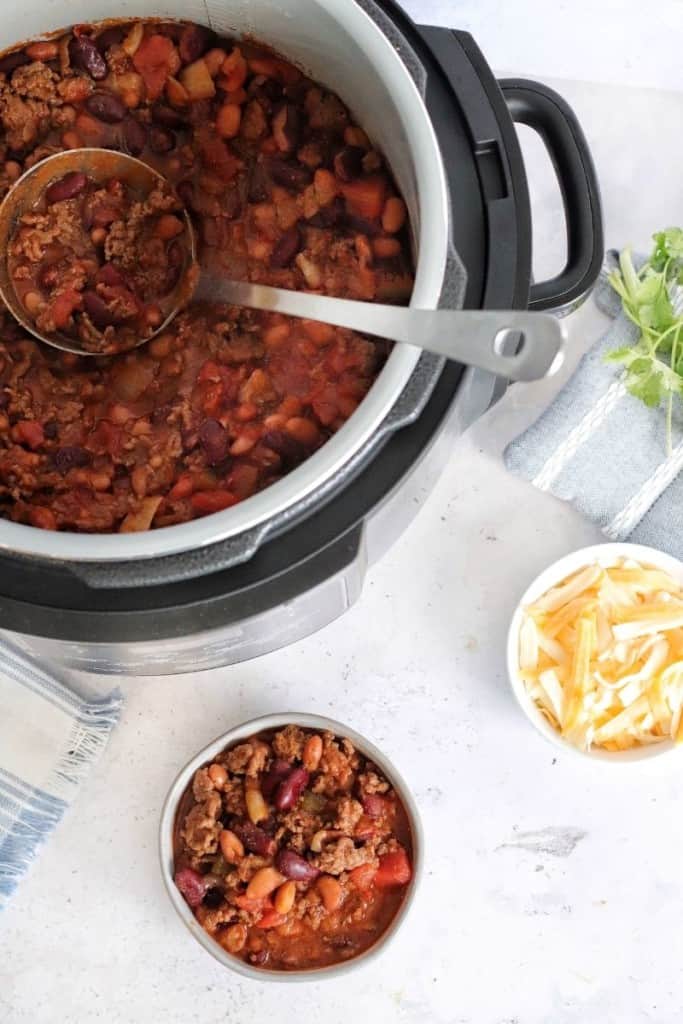
STEP FIVE: Give the Ninja Foodi chili a good stir, then garnish with your favorite toppings and serve!

Tips for Making Ninja Foodi Chili
- Soak dried beans. If you’re using dried beans, soak them overnight before incorporating them into the quick chili recipe.
- Get “cooked all day” flavor by using fire roasted tomatoes! It really makes a big difference.
- Don’t forget to drain the beef. Otherwise, you’ll have a layer of grease floating on top of your chili. Yuck!
- Reduce the heat. Feel free to replace the jalapenos with bell peppers instead.
- Personalize with toppings. Serve the pressure cooker chili with a variety of toppings like shredded cheddar cheese, sour cream, diced onions, or fresh cilantro to add layers of texture and taste.
What to Serve with This Quick Chili Recipe
- Air Fryer Baked Sweet Potato
- Air Fryer Hush Puppies
- Garlic Bread in the Air Fryer
- Instant Pot Glazed Carrots
- Instant Pot Mashed Potatoes with Garlic
How Long to Cook Chili in the Ninja Foodi
When using the pressure cooker function, the average cooking time for chili is around 10 to 15 minutes on high pressure. This allows the flavors to meld together and the meat to become tender.
However, it’s important to consider the additional time needed for the Ninja Foodi to come to pressure, which can take anywhere from 5 to 15 minutes, depending on the quantity and temperature of the ingredients.
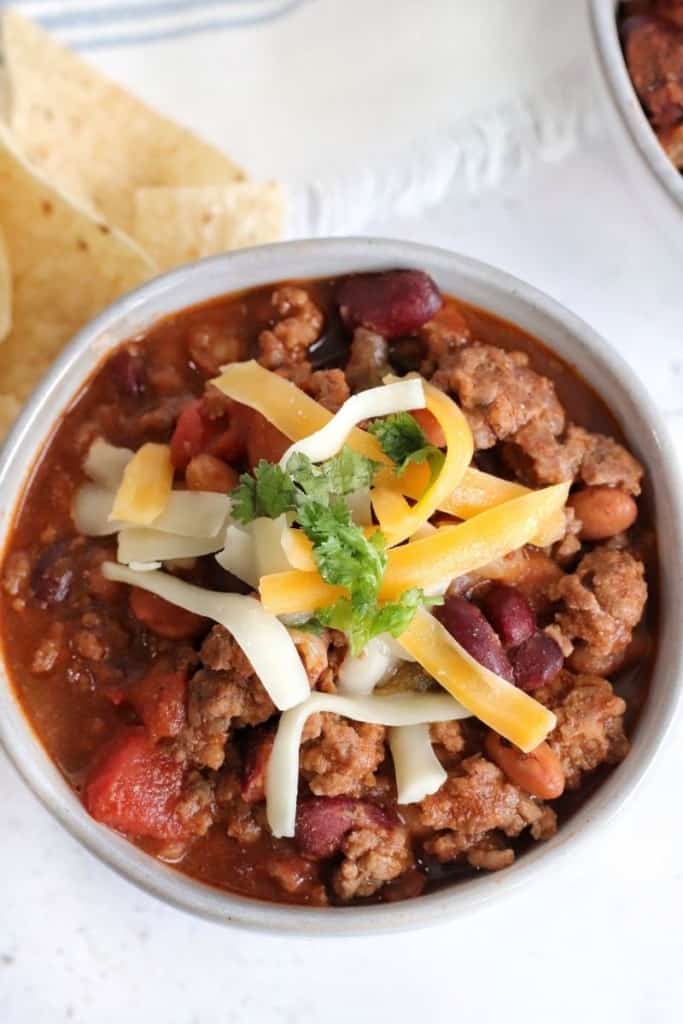
Variations of This Pressure Cooker Chili Recipe
- Enhance the taste of your chili by using beef broth instead of water for added richness.
- Add spices like cumin, coriander, and Mexican oregano for an authentic Mexican twist on this Ninja Foodi chili recipe.
- Combine kidney beans, pinto beans, and black beans for a robust and protein-packed fast chili. Or, use chili beans — they’re just pinto beans in sauce with extra seasonings!
- You can choose from a variety of ground meats like ground chicken, ground pork, chorizo, or a blend of your favorites, to create a flavorful and versatile twist on the classic chili!
More Ground Beef Ninja Foodi Recipes
Can I Cook This Recipe in a Slow Cooker Instead?
You bet! This process can be easily modified for slow cooker chili.
The only difference is that the ground beef will need to be cooked in a frying pan first.
Once browned and drained, add all of the ingredients to a slow cooker, then cook on low for 6 to 8 hours or on high for 2-3 hours.
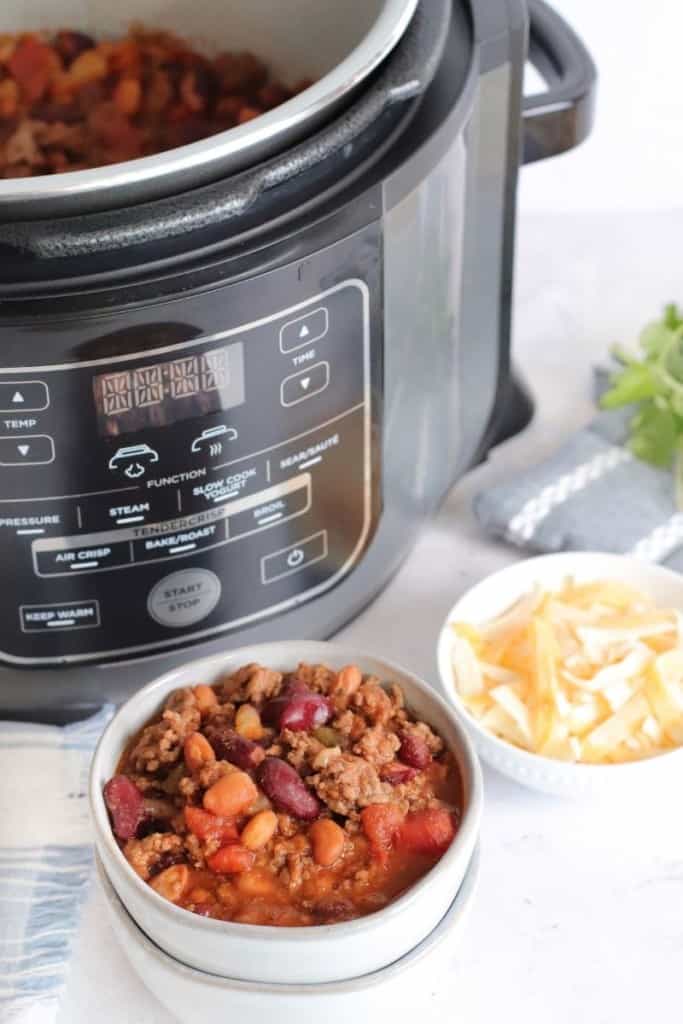
Topping Ideas for Chili
- Shredded cheese
- Avocado Crema
- Cilantro
- Green onion
- Hot sauce
- Pickled jalapeños
- Tortilla strips
- Sour cream
What If I Get a Water Error Notice?
If you receive a water notice while cooking with your Ninja Foodi, don’t panic! Adding additional liquid is a simple solution to rectify the situation.
If your chili appears too thick or dry, simply add ½ cup of water or broth to the mixture. Carefully pour it into the pot and give it a good stir to evenly distribute the added liquid.
More Recipes in the Ninja Foodi
- Ninja Foodi Chicken Thighs
- Ninja Foodi Corned Beef
- Ninja Foodi Mashed Potatoes
- Ninja Foodi Rice
- Ninja Foodi Chicken Wings
- Ninja Foodi Mac and Cheese
- Ninja Foodi Baked Potato
- Ninja Foodi Hard Boiled Eggs

Ninja Foodi Chili
Ingredients
- 1 pound ground beef
- 1 small onion chopped
- 1 tablespoon ground cumin
- 1 tablespoon garlic powder
- 1 1/2 teaspoon chili powder
- 1 1/2 teaspoon smoked paprika
- 1 1/2 teaspoons black pepper
- 1 can pinto beans 15.5 ounce
- 1 can kidney beans 15.5 ounce
- 1 can diced tomatoes 14.5 ounce
- 1/2 cup tomato paste
- 1 to 2 jalapenos chopped
Instructions
- Start by sautéing the ground beef. To do this turn the Ninja Foodi on and press the sauté button. Sauté the hamburger meat on high until browned.
- Remove the inner pot & drain the grease from the hamburger meat. Replace the pot with the browned meat to the Ninja Foodi base, add in the chopped onions, cumin, black pepper, garlic powder, chili powder, and smoked paprika.
- Stir, then add the pinto beans, kidney beans, diced tomatoes, tomato paste, and chopped jalapenos. You can drain a little bit of the liquid off the beans before adding them in. No need to rinse them. Stir.
- Place the pressure cooker lid on securely. (This is not the attached lid but, the second lid that it comes with). Turn the steam valve nozzle to “seal” and cook on high pressure for about 10 minutes.
- All the Ninja Foodi to do a natural steam release for about 4 minutes then do a manual release to release the remaining pressure.
- Remove the lid carefully, stir, then pour into bowls and add your favorite toppings and enjoy!
Nutrition
This nutrition information is based on the exact products I used in this recipe. Brands and sizes of products could alter exact nutrition and should always be calculated independently.


This is really easy to make and tasted really delicious! Thank you so much for sharing this ninja foodi chili soup recipe! Highly recommended!
Perfect fall comfort food. I like your spices. Just right.
My pressure cooker gave water error. I added 1/2 cup water. Also added tbsp of salt.
Hmm.. I am unsure why the machine would have given a water error. I’ve made this recipe several times and have never had the issue.
My Ninja Foodi also told me to add water. Otherwise a great recipe.
No water signal here! Cooked so quick and was a hit for football Sunday. Thanks for the yummy recipe.
I also got the water error but I think it’s because I drained the beans completely versus you left some in your recipe. Easy to follow recipe! Thank you!
How many people does this recipe feed
Recipe states 6 to 8 servings.
I would like to make this and have it sit overnight and simmer … what would be your best advice for that?
Hi Rebecca, this can be cooked in a slow cooker for 6-8 hours on low or 2-3 hours on high.
I have the Ninja possible cooker(pro) not the pressure cooker.Do I use the same instructions? I will be making this tonight can’t wait.
Hi Chris, this specific recipe needs a pressure cooker function on the unit, but you could always do a slow cooker option for about 4-6 hours on low or 2-3 hours on high!
In other pressure cooker recipes I have that have tomato, I have the best success when all the other ingredients except tomato items are stirred in. Then, add tomato products last and DO NOT STIR. Pressure cook and NR or MR per directions, then stir after lid is removed. No burnt tomatoes at bottom, no warning signal to add water!