Celebrate the very best flavors of all with air fryer baked apples! They’re filled with oats, raisins, pecans, brown sugar, melted butter, and apple pie seasoning for an irresistible treat.
This post may contain affiliate links. If you click on a link and make a purchase, I may receive a small commission at no extra cost to you. For more information, please read my disclaimer.
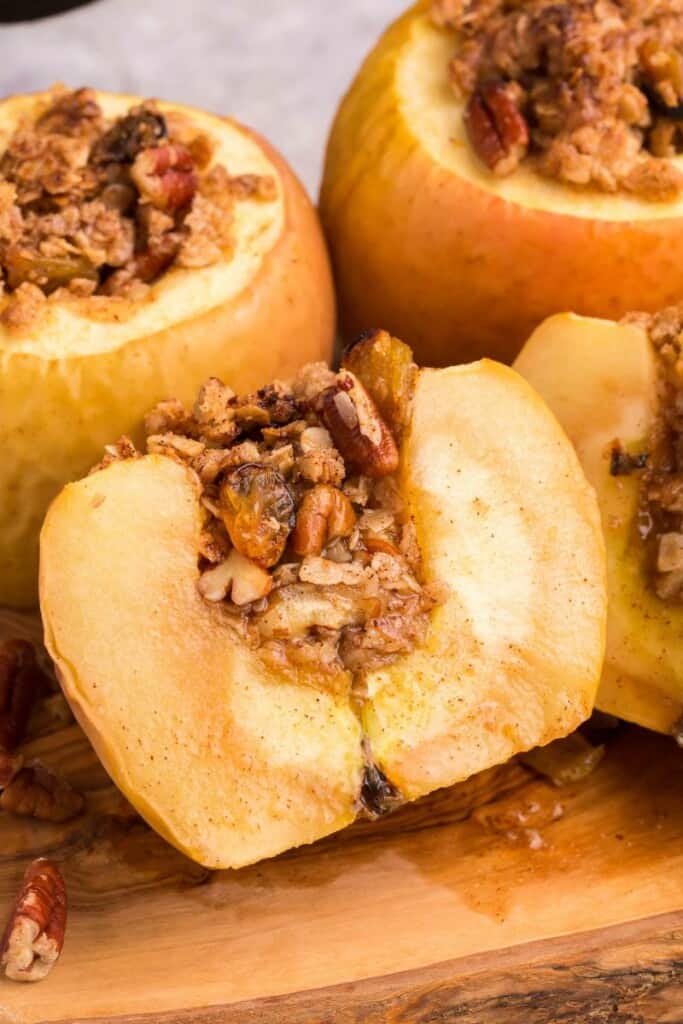
Want to satisfy your sweet tooth while enjoying all the best flavors of fall? Then you absolutely have to try these unbelievably delicious air fryer baked apples!
A simple filling made with oats, raisins, pecans, brown sugar, melted butter, and apple pie seasoning bakes in the center of the apples, infusing them with flavor while melting into pure gooey delight.
And if you love the sweet taste of these apples, you’ll enjoy my air fryer pineapple recipe too!
Here’s what I’m going to teach you in this post:
- How to make the most amazing baked apples in the air fryer
- The best apples to use for this recipe
- How long to cook air fryer baked apples
- Some ideas for variations like cinnamon apples in the air fryer
- All the best toppings for this fall treat
Best of all, this seasonal treat is ready in less than half an hour with just seven ingredients.
So whether you’re hosting a fall get-together with friends or just want to treat your family, there’s never a bad time to whip up this delightful dish!

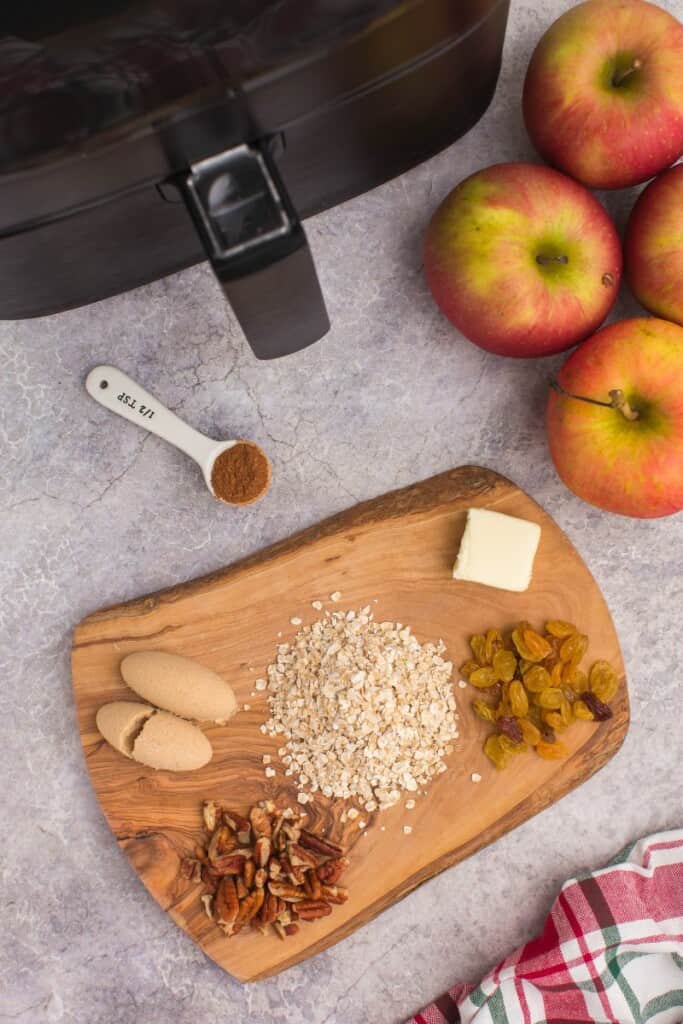
How to Make Air Fryer Baked Apples
A full printable version of this recipe with ingredient measurements is available at the bottom of this post.
STEP ONE: Cut the tops of your apples off to remove the stem. Cut a thin slice off the bottoms to make the apples flat.
STEP TWO: Using an apple corer or a paring knife, remove the center of the apple and make about an inch-wide cut for the filling. Be careful not to cut all the way through to the bottom.
STEP THREE: In a medium bowl, combine the oats, raisins, pecans, brown sugar, melted butter, and apple pie seasoning.
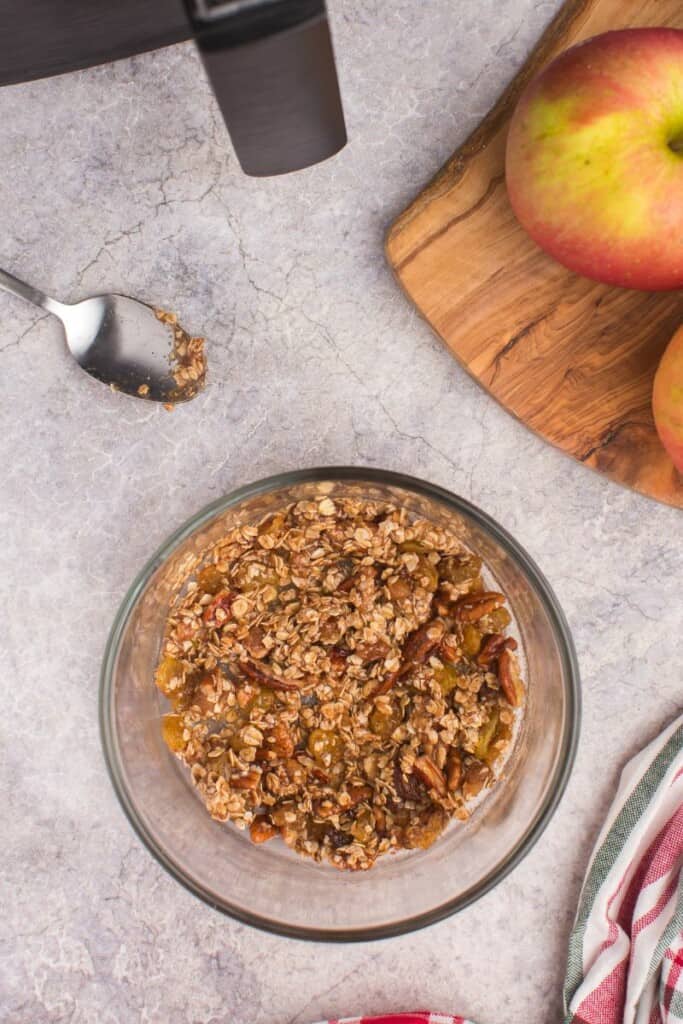
STEP FOUR: Divide the mixture among the 4 apples, filling in the centers.
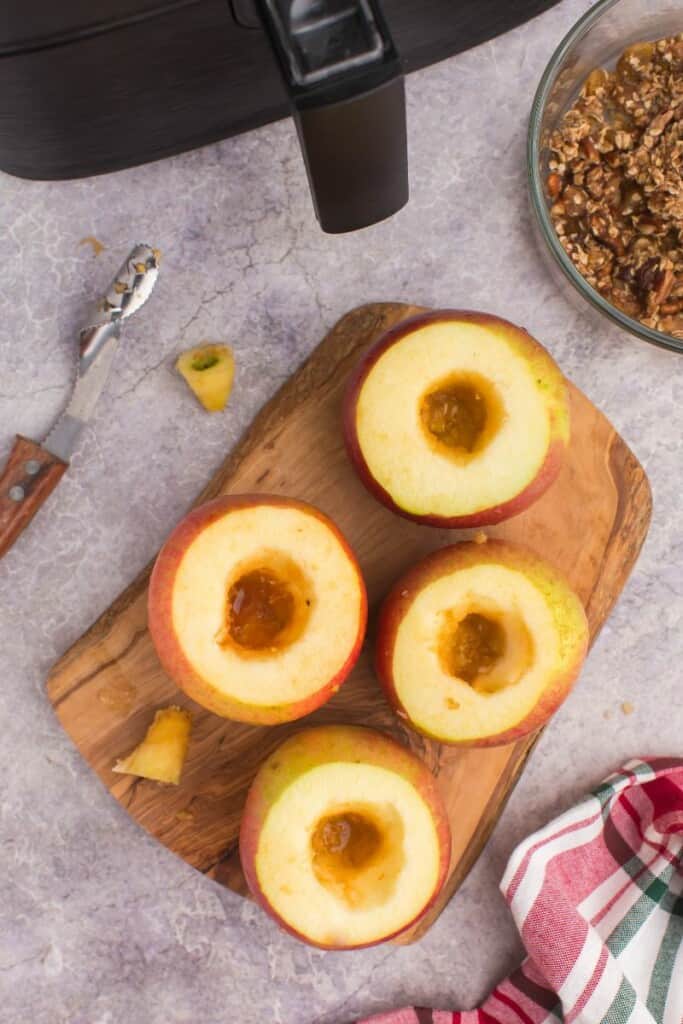
STEP FIVE: Place the apples in the air fryer basket and bake at 300 degrees F for 13-15 minutes.
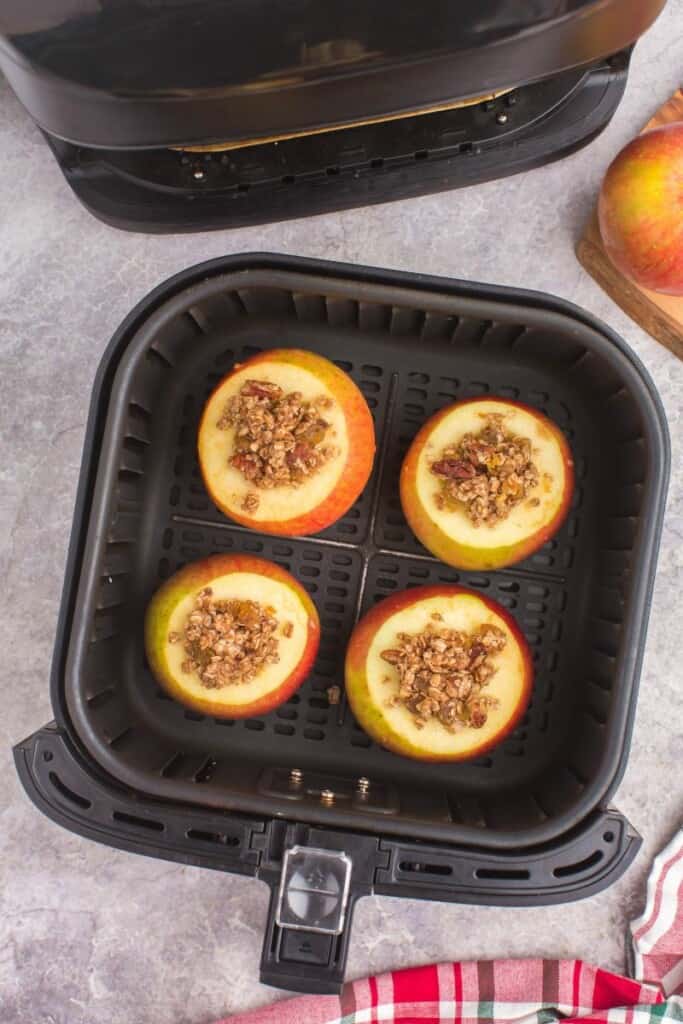
STEP SIX: Allow the apples to sit in the basket until they are cool enough to handle. Serve warm as-is or top with a dollop of vanilla ice cream and enjoy!

What Apples Should You Use for Air Fryer Baked Apples?
I like to use Gala apples for this recipe, but any apple will do. Your flavor preference can help you decide whether you want to use something as sweet as a Golden Delicious, a more tart variety like a Granny Smith, or anything in between!
My one recommendation would be to stick to medium-sized apples. If you go for the biggest apples you can find, it will be harder to cook them all the way through.
In the event that you’re working with bigger apples, you’ll want to add 1-2 more minutes to the cooking time.
How to Know When Air Fryer Baked Apples are Done
When making air fryer baked apples with oats as part of the filling, you certainly want the oats to be nice and cooked. That’s why it’s important to use quick oats in your filling.
After that, just cook the apples until they reach your desired level of softness. It’s all going to depend on whether you like your apples to be super soft or still have a little crunch to them!
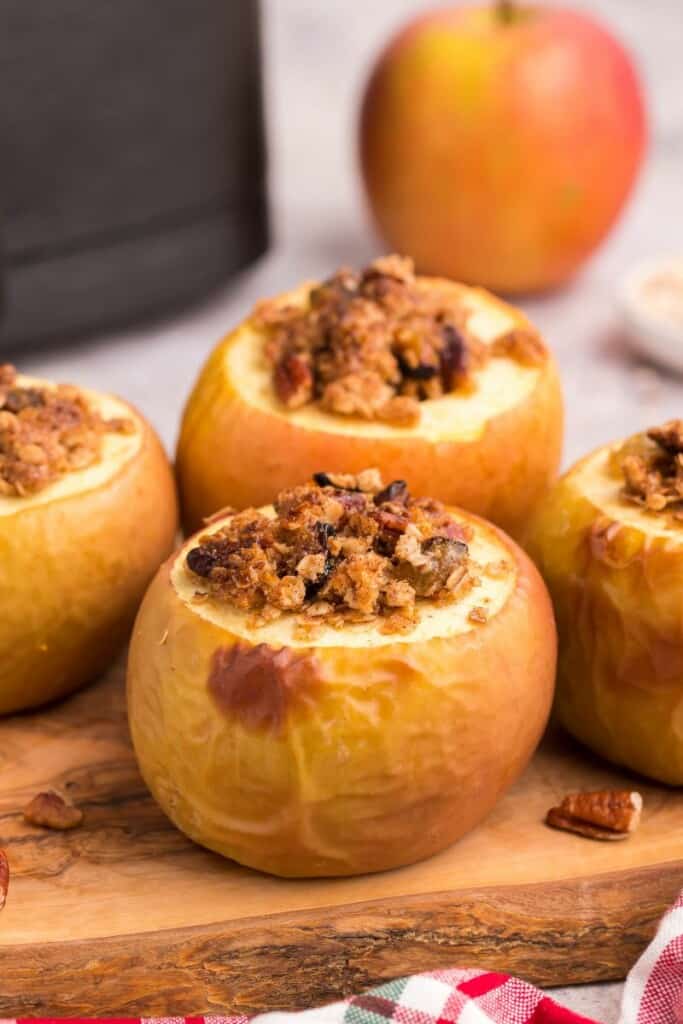
Start checking on them around the 13-minute mark, and keep in mind that they’ll keep cooking a bit as they rest in the air fryer basket.
Tips For Making the Best Baked Apples in the Air Fryer
- You want to cut the bottoms off the apples so they’ll be nice and flat. This keeps them from rolling in the air fryer.
- When you core the apple, be careful not to go all the way through the bottom. Otherwise, your filling will leak out as it cooks.
- I recommend making the diameter of your cut about an inch wide. You don’t want to cut out too much of the apple, but you still want all that delicious filling in there.
Variations for Your Air Fryer Baked Apples
If you ask me, air fryer apples and brown sugar are a match made in heaven. As long as you start with that base recipe, there are plenty of ways you can get creative and make this dish your own!
Want to make cinnamon apples in the air fryer? Try adding a teaspoon of cinnamon to the filling mixture. A sprinkle of nutmeg will add even more warm spice flavor!
You can also mix up which nuts you use. Chopped walnuts, almonds, or even macadamia nuts would be delicious. Maybe even toss in a few chocolate chips!
Toppings for Baked Apples
The filling is so flavorful that you don’t really need much to go with this amazing dish.
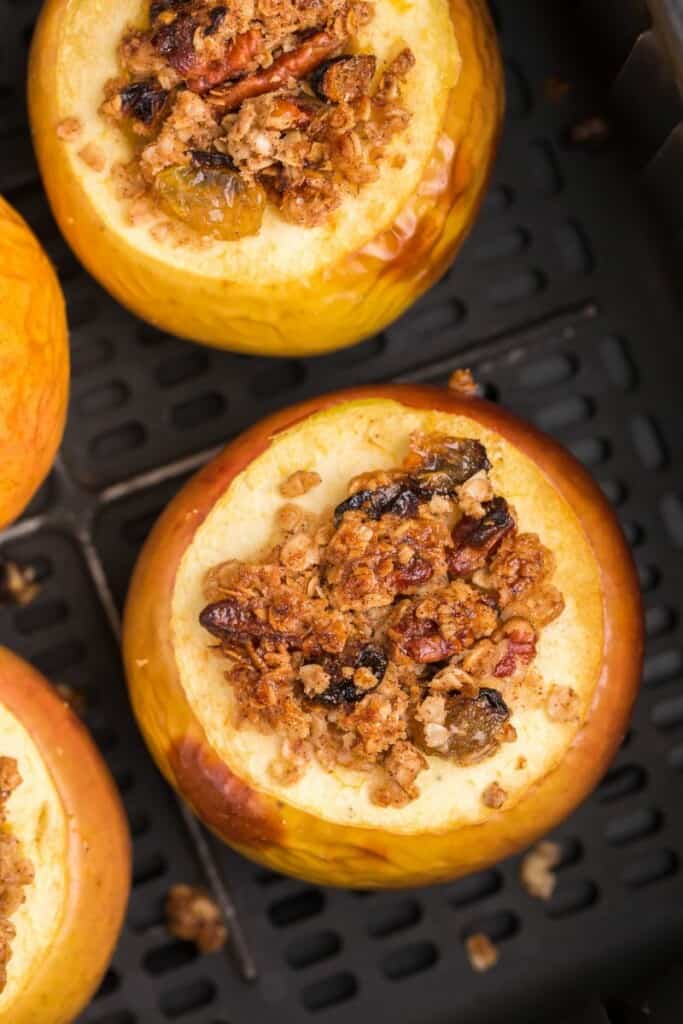
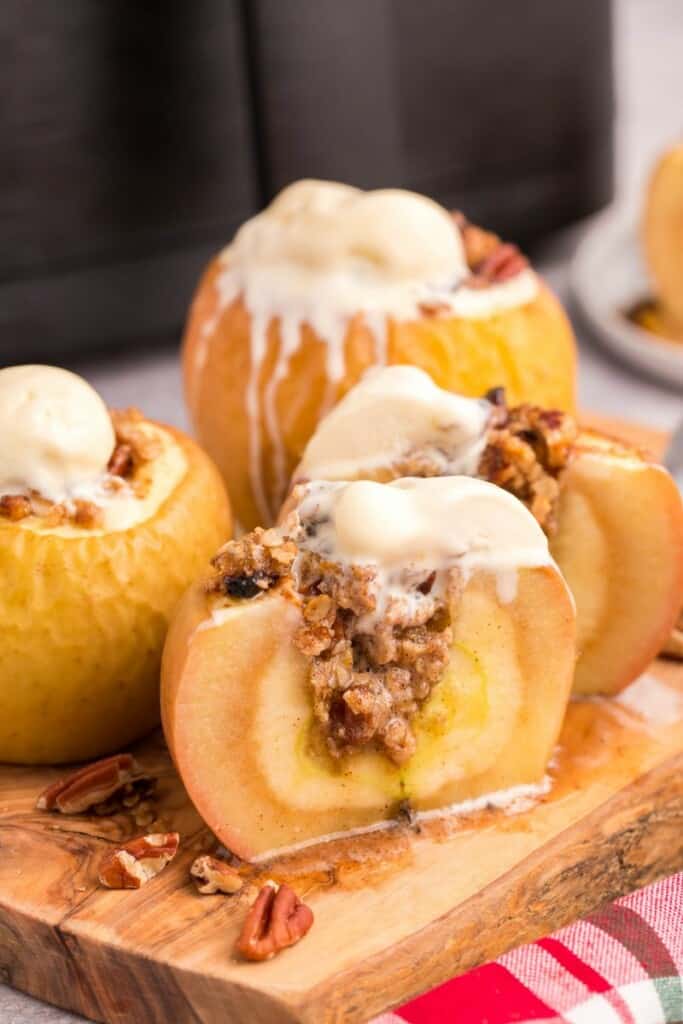
If I’m looking for an additional treat, I usually just top my baked apples with a dollop of vanilla ice cream or a little whipped cream.
Of course, you could always sprinkle cinnamon on top for some extra flavor. Or, if you love crunch, try adding a few more chopped pecans before serving!
Other Sweet Apple Recipes You’ll Love:
- Air Fryer Apple Fritters
- Air Fryer Apple Crisp
- Apple Turnover
- Air Fryer Apple Chips
- Cinnamon Roll Apple Pie
- Easy Air Fryer Apples
- Fall Fruit Salad
- Instant Pot Strawberry Applesauce
Love air frying? Join my newsletter! You can also follow me on Facebook, Instagram, or join my free Facebook Air Frying Community.
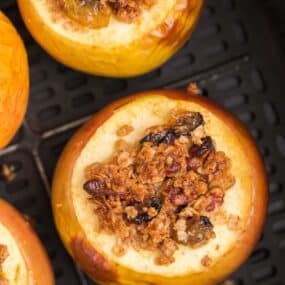
Air Fryer Baked Apples
Ingredients
- 4 large apples
- 3 tablespoons of quick oats
- 2 tablespoons of golden raisins
- 2 tablespoons of chopped pecans
- 2 tablespoons of light brown sugar
- 2 tablespoons of melted unsalted butter
- 1/2 teaspoon of apple pie seasoning
Instructions
- Cut the tops of your apples off to remove the stem. Then also slightly cut the bottom of your apple off so that it is flat on the bottom, so it does not roll in the air fryer.
- Using an apple corer or a paring knife, remove the center of the apple, careful not to go all the way through the bottom. Then your filling will leak out as it cooks. I made the diameter of my cut out about an inch wide. You don’t want to cut too much of the apple out, but you still want all that delicious filling in there.
- In a medium bowl, combine the oats, raisins, pecans, brown sugar, melted butter, and apple pie seasoning.
- Divide the mixture among the 4 apples, filling in the centers.
- Place your apples in the air fryer and bake at 300 degrees for 13-15 minutes, till they are your desired amount of softness.
- Allow them to sit for a few minutes, as they will be very hot to remove. Once you have removed them, serve warm and for an additional treat, top with a dollop of vanilla ice cream.
Nutrition
This nutrition information is based on the exact products I used in this recipe. Brands and sizes of products could alter exact nutrition and should always be calculated independently.


