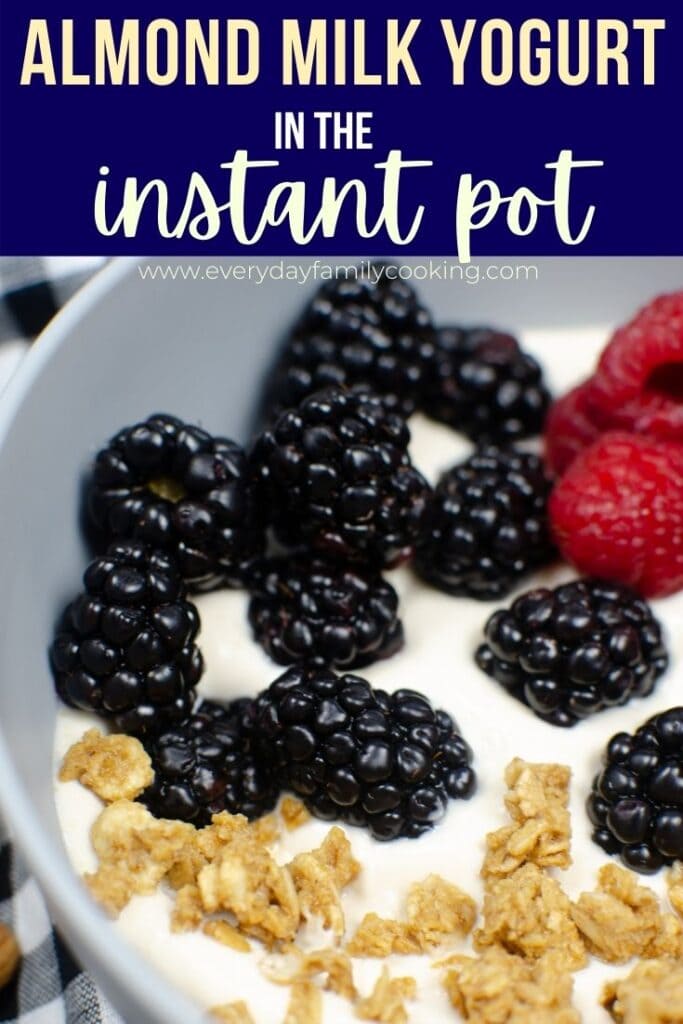
Creamy homemade Instant Pot Dairy Free Yogurt made with almond milk that can be topped with your favorite fruit!
This post may contain affiliate links. If you click on a link and make a purchase, I may receive a small commission at no extra cost to you. For more information, please read my disclaimer.

Making almond milk yogurt in the Instant Pot may sound like a daunting task, but it’s easy! Plus, the kids love it more than the store-bought yogurt.
While making dairy-free yogurt in the Instant Pot is a lengthy process, it is easy to follow.
In this post, I’m going to show you how to make homemade Almond Milk Yogurt in the Instant Pot, what kinds of Almond milk and start yogurt to use and some helpful tips to get the best-tasting yogurt you’ve ever tasted!
This is a very precise recipe and must be followed exactly. Think of it like baking or making candy. Your dairy-free yogurt must rise to certain temperatures to make sure you get a thick and creamy result instead of liquidy and runny.
Why Should I Make Almond Milk Yogurt in my Instant Pot?
- It’s cheaper
- It’s creamier and less tangy
- It’s better for you with no unnecessary ingredients
- It can be made with no sugar added
- The Instant Pot can maintain a steady temperature making it easier to make homemade yogurt

Ingredients Needed for Instant Pot Almond Milk Yogurt
- Almond Milk – you can’t make almond milk yogurt without almond milk! I prefer to use homemade almond milk as it comes out even more creamy, but store-bought will work as well.
I recommend shelf-stable almond milk with no added flavors and no sweeteners. You can freeze any leftover almond milk.
- Plain Almond Yogurt with Live Active Cultures – This is your live starter ingredient. It’s what used to reproduce all the bacteria needed to actually make yogurt! It must contain live active cultures, or this recipe will not work! It must also be just plain yogurt without any added flavors.
- Arrowroot Flour and Gelatin – This is your thickener. Almond milk yogurt can be thin on its own, so it needs a little help thickening up. This will get a creamy yogurt texture.

How to Make Almond Milk Yogurt in the Instant Pot
A full printable version of this recipe with ingredient measurements is available at the bottom of this post.
STEP ONE: CleaN/SANITIZE YOUR INSTANT
I know you’re reading this thinking, of course, I clean my Instant Pot, but I mean a deep clean.
Homemade Yogurt in the Instant Pot takes almost a full day to complete and cooks at a temperature that bad bacteria and mold can thrive in.
Here are some things to clean right before you start making your yogurt:
- Take apart the lid pieces and clean each by hand
- Scrub the top lid without the pieces attached
- Do a deep clean of the ring. I also recommend using a special ring for anything sweet so your yogurt doesn’t smell like French Onion Chicken
- Clean the inner pot again, just in case
You can also use the cleaned glass Instant Pot lid instead of cleaning the normal Instant Pot lid.
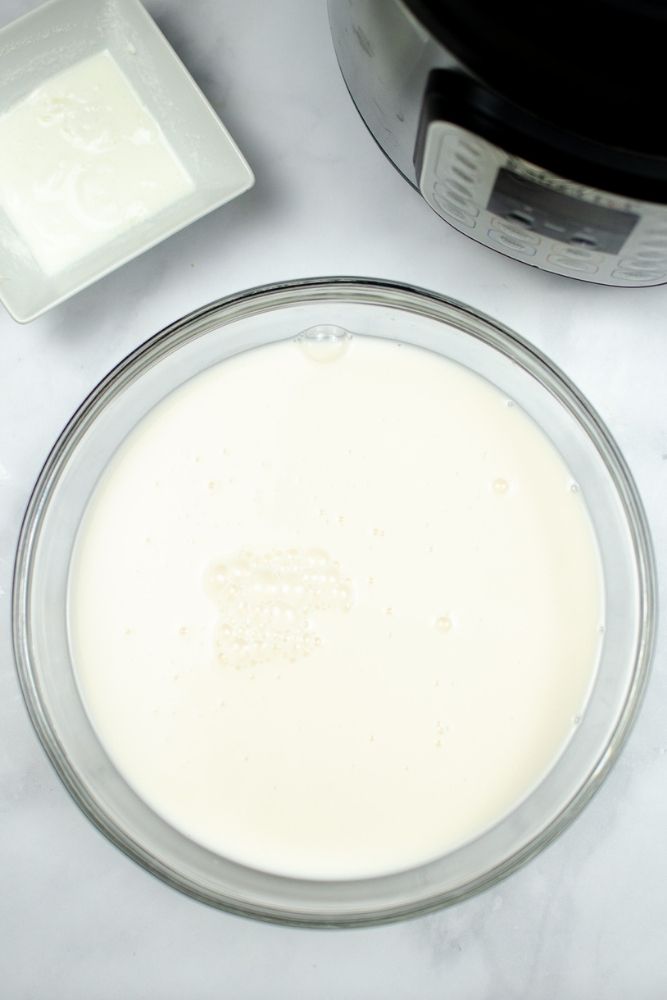
STEP TWO: Add the Almond Milk
Add the almond milk to your Instant Pot and close the lid. I recommend using a shelf-stable Almond Milk or one that doesn’t have any flavors and is unsweetened.

STEP THREE: Heat Up the Yogurt
Press the yogurt button. This will start to increase the temperature in the Instant Pot to 180 degrees. Once ready, your Instant Pot will display the word “BOIL” on it. It can take up to 45 minutes.
Check the temperature of your milk with a candy thermometer (it’s worth it). If it’s still not at 180 degrees, switch your Instant Pot to “Sauté” mode and stir until the milk reaches 180 degrees.
Continue to stir for 10 minutes while the milk is at 180 degrees to kill any existing bad bacteria.
STEP FOUR: Add in the Thickeners
Add in the arrowroot flour and gelatin and mix well.
STEP FIVE: Cool Down The Yogurt
Remove the inner pot and let it cool to 115 degrees (this is where that thermometer really comes in handy).
I like to place the pot in the sink with very cold ice water to cool it down faster. You can do the same in a large bowl. Using this method will take about 15-20 minutes to cool.
STEP SIX: Add the Yogurt Starter
Skim off the skin on the top of the milk and discard it. In a small bowl, add a few tablespoons of the milk from the Instant Pot into the already-made yogurt with live active cultures (your starter culture).
Mix it well and add it to your Instant Pot, mixing well again.

STEP SEVEN: Incubate the Yogurt
Dry off the outside of your inner pot and place it back into your Instant Pot. Press the “yogurt” function and change the time to 12 hours.
This will allow your yogurt to incubate by reproducing good bacteria at an optimal temperature.
Your Instant Pot will count up to 12 hours, unlike the normal countdown feature.
*NOTE* 12 hours will result in a runnier yogurt. 16 hours will make your yogurt thicker.
STEP EIGHT: Refrigerate the Yogurt
Once the almond milk yogurt is done incubating, transfer the inner pot to your refrigerator, covered, and cool for at least 6-8 hours.
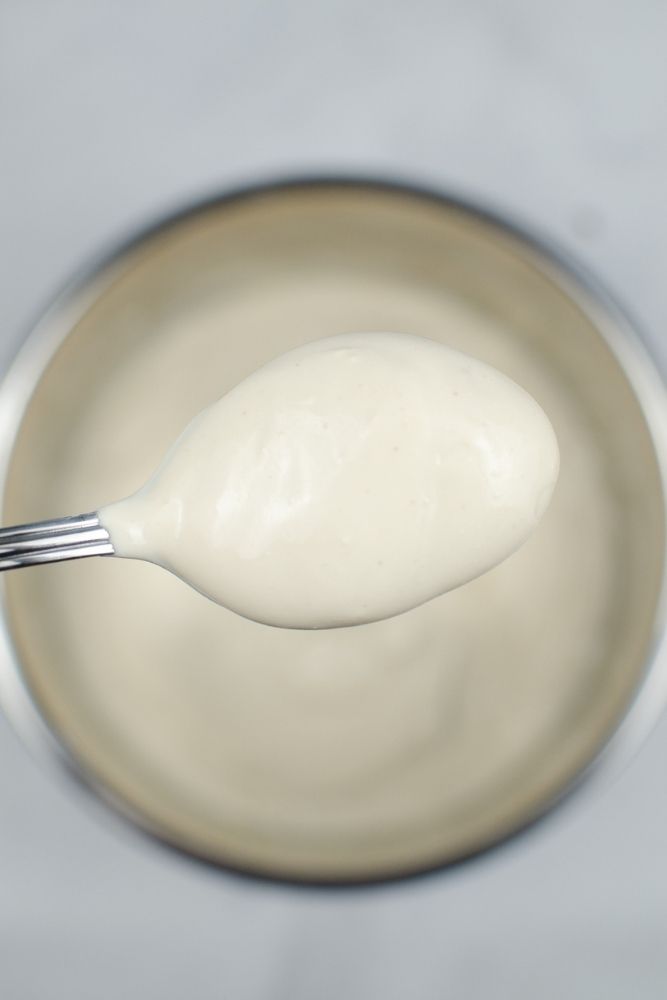
The yogurt may still look a little runny at this point but will thicken up as it cools.
STEP NINE: Store and Eat the Yogurt!
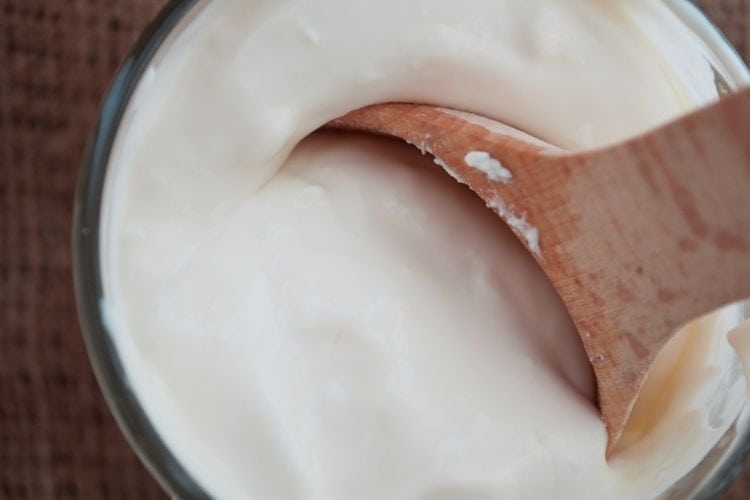
Remove almond milk yogurt from the fridge, spoon it into cups or an airtight storage container, and enjoy with your favorite yogurt toppings!
Reserve about ¼ cup of yogurt for your next batch!

How Long Will This Instant Pot Almond Milk Yogurt Store For?
This yogurt will stay fresh in the fridge for up to 5 days.
My Yogurt Turned Pink! Can I Still Eat it?
When yogurt turns any sort of pinkish color or looks red and splotchy, it means bad bacteria were still inside the Instant Pot when cooked. AKA your Instant Pot wasn’t as clean as you thought it was.
Yogurt with any sort of pink inside should be thrown away immediately and not eaten.

Tips That Result in the Best Instant Pot Dairy Free Yogurt
- You can use a glass lid or the normal Instant Pot lid. If using the regular Instant Pot lid, really make sure to clean it from top to bottom. I recommend using a glass lid when possible (not using the pressure cooker function) because it’s easier to clean.
- Use 3 tablespoons of this yogurt as your NEXT yogurt starter to save even more money. It will also result in an extra creamy and less tangy yogurt the second time around.
- Do not disturb the yogurt while it’s incubating. 110-115 degrees is a temperature where bacteria, good and bad, thrive. It’s important to keep just the live active cultures in your yogurt and not add any bad bacteria from the outside atmosphere while it’s cooking.
- Add in your favorite flavors after it’s done cooking! This is where you can add in vanilla bean, fruit spreads, honey, maple syrup, etc.
Love using your Instant Pot or Air Frying? Join our newsletter! You can also follow us on Facebook, Instagram, or join our free Facebook Air Frying Community.
More Instant Pot Recipes
- Instant Pot Garlic Mashed Potatoes
- Instant Pot Strawberry Applesauce
- Instant Pot Carrots
- 25 Easy Family Instant Pot Recipes
More Recipes to Use with Fruit

Instant Pot Almond Milk Yogurt
Ingredients
- 1/2 gallon almond milk unsweetened and unflavored*
- 3 tablespoons plain almond yogurt with live active cultures
- 4 tablespoons arrowroot flour
- 2 tablespoons gelatin
Instructions
- Clean and sanitize your Instant Pot.
- Add the almond milk to the Instant Pot and close the lid. You can use your normal lid or a glass lid.
- Press the yogurt button and wait until it shows "BOIL." This will take about 45 minutes. Check the temperature of the almond milk with a candy thermometer. It should read 180 degrees. If it does not, change the Instant Pot to "Saute" and stir the milk constantly until the temperature reaches 180 degrees.
- Add in the gelatin and arrowroot and mix well.
- Remove the inner pot from the Instant Pot and let it cool to just 115 degrees in cold water or an ice bath. This will take about 15-20 minutes. You can also cool on the counter, but it will take about an hour.
- Skim the skin off the milk and discard. Take a few tablespoons of your milk from your Instant Pot and add it to the already-made yogurt. Whisk together then add to the Instant Pot and mix it well.
- Dry off the outside of the inner pot and place it back into the Instant Pot. Press the "Yogurt" function. Change the time to 12 hours.**
- Once the yogurt is done, remove the inner pot, cover it, and place it in the refrigerator for 6-8 hours. It will thicken as it cools.
- Remove the yogurt from the fridge and store for up to 5 days — saving about 1/4 cup to make your next yogurt.
Notes
Nutrition
This nutrition information is based on the exact products I used in this recipe. Brands and sizes of products could alter exact nutrition and should always be calculated independently.


Do you strain it like regular yogurt?
Can I use cornstarch instead of arrowroot and gelatin?
Hi Selena, I don’t recommend using cornstarch instead. Yogurt cooks at a consistent 180 degrees F and cornstarch needs to hit over 200 degrees F in order to thicken.
For anyone who is plant-based, please note that gelatin is not vegan.
That is correct. Gelatin is not vegan or vegetarian.
Agar agar powder can be used as a substitute to gelatin.
Gelatin isnt vegan but agar agar powder is. Dont know if you will still need the arrowroot with it or not. Not sure why you need it in the first place if your adding gelatin.
question why the sooo extra extra sterilizing of the insta pot ? I have been making soy yoghurt, while washing it have not used or worried about sanitizing it..and never had a problem making soy yoghurt…is almond milk more susceptible to ?? dangerous bacterias?
?
Hi Diana, that’s great you’ve never had issues with bacteria, but I always recommend an extra sanitary measure when making all yogurts so you don’t get through the whole process and have to toss it out after so many hours of cooking.
Would this recipe freeze well? Or does it come out with a bad texture after it’s thawed?
Hi Dawn, I do not recommend freezing the yogurt as it can separate when being thawed.
I want to try making almond milk yogurt as I have a bunch of unused almond milk that will expire next month. I regularly make yogurt in my IP with lactose free milk and have whey leftover from that which I use as my starter. Can I use this whey as the starter for the almond yogurt? Thanks
Hi Lisa, You’ll want to use a starter culture, such as a plain almond milk yogurt, for this recipe. I hope this helps!
So much better than paying $20 for a container at the grocery store! I didn’t love the texture when it was done so I threw it in the blender with 2 tbsp of xanthan gum. Smooth, creamy and super thick – as good as Kite Hill! I used Agar Agar for gelatin.
Hi Denise, That’s a great tip, thanks! I’m glad you enjoyed the recipe.
I’d love to try this recipe. but my Instant Pot (Duo Crisp +) does not have a dedicated “yogurt” button. Do you know what setting I should use instead?
Hi Vitus, only Instant Pots with the yogurt button will work with this recipe as it’s designed to keep the inside of the pot at a very specific temperature.
I had the yogart in the IP for 16 hours. Followed the recipe but turned out runny. I use agar agar powder. Thoughts?
Hi Nancy, Your yogurt should thicken up more in the fridge. For the thickest, creamiest almond milk yogurt, use homemade almond milk.