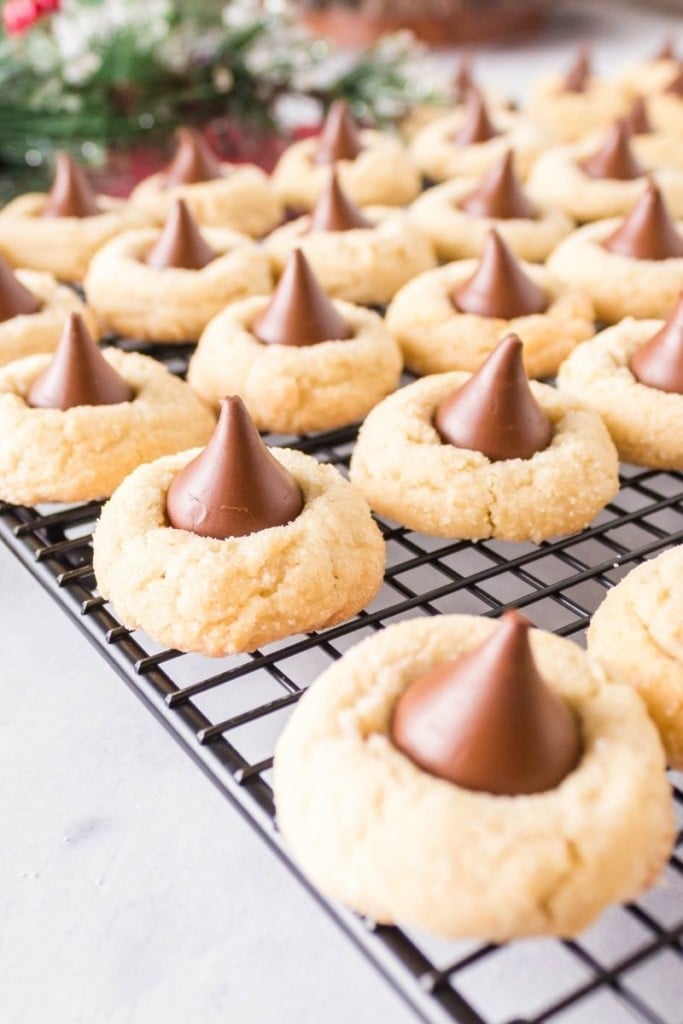
If there is one Christmas cookie you need to make every year, it’s my Hershey Kiss Cookies. Just looking at the 300+ reviews and comments section tells me many others agree that this recipe is a staple in their holiday baking!
This post may contain affiliate links. If you click on a link and make a purchase, I may receive a small commission at no extra cost to you. For more information, please read my disclaimer.
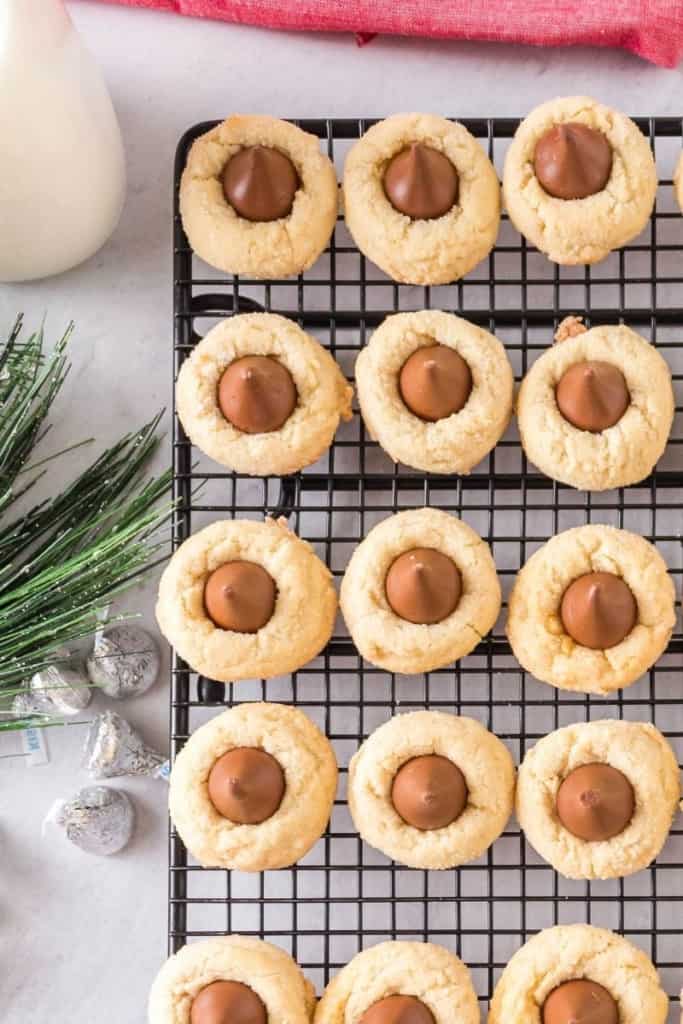
Hershey Kisses Cookies
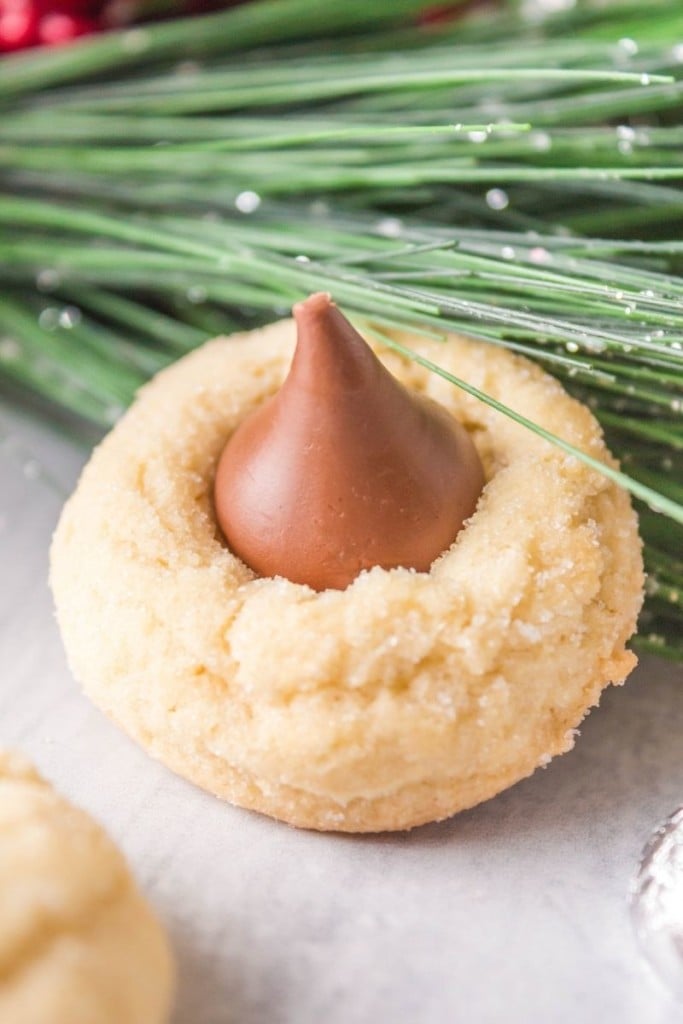
My Hershey Kiss Cookies are the most popular cookies on my site, and for good reason! They’re buttery shortbread cookies paired with a Hershey kiss to create an instant classic.
Prefer peanut butter cookies? Try these 4-Ingredient Peanut Butter Blossom Cookies!
Having tested this recipe more than 30 times, I’ve developed the perfect way for the Hershey kisses to stick on top without melting into the cookie. The secret? Unwrap the kisses on a plate and refrigerate them while you make the cookies!
Here’s what I’m going to teach you in this post:
- All of the ingredients you’ll need to make these Hershey kiss cookies with no peanut butter
- Step-by-step instructions on how to bake perfect thumbprints with ingredients you probably already have
- Answers to the most frequently asked questions about how to make Blossom Cookies without peanut butter, plus how to store them!
When you’ve finished creating this thumbprint recipe, you’ll know how to make chewy, chocolatey Hershey Kiss cookies with shortbread for holidays, parties, or for yourself to enjoy!
We love easy Christmas cookies and I’m sure you do too! Check out this great list of 35 easy Christmas Cookies with just a few ingredients!
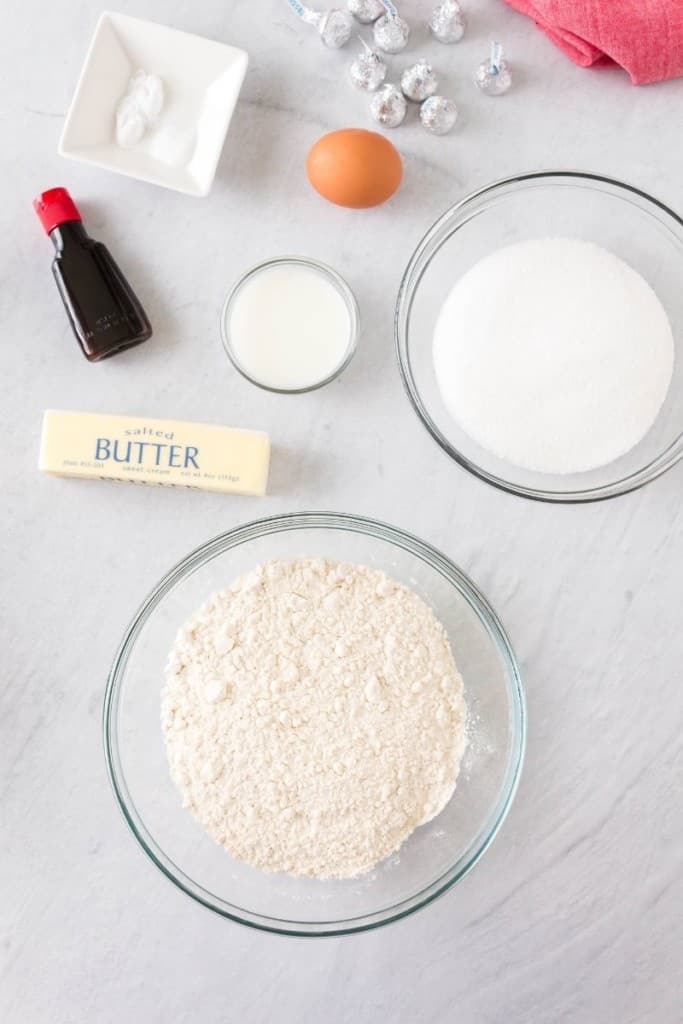
Ingredients for Chocolate Kiss Cookies
- All-purpose flour
- Hershey Kisses – You’ll need about 46 of them
- Butter – Salted and at room temperature
- Granulated sugar
- Egg
- Milk – use whole milk when possible
- Vanilla extract
- Baking soda – To help the cookies rise
- Salt
How To Make Hershey Kiss Cookies Without Peanut Butter
A full printable version of this recipe with ingredient measurements is available at the bottom of this post.
STEP ONE: Preheat your oven to 350 degrees F. Line a cookie sheet with parchment paper and set it aside.
STEP TWO: Unwrap the chocolate kisses and place them in the refrigerator so they stay firm.
STEP THREE: In a large bowl, cream together the butter, sugar, egg, milk, and vanilla extract until well combined.
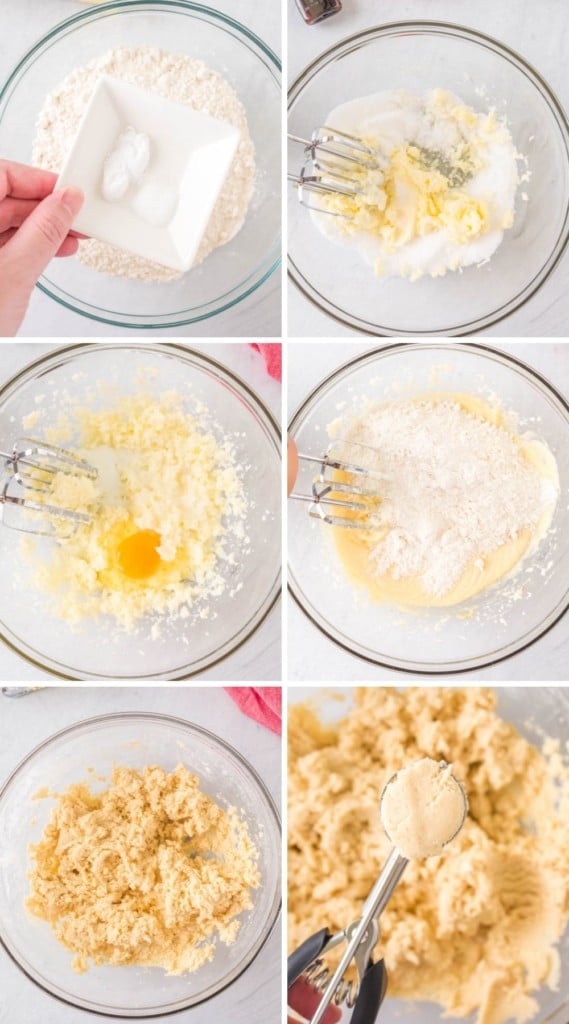
STEP FOUR: In a separate bowl, mix the flour, baking soda, and salt until combined.
Using a whisk can help break up any clumps, or you can sift them together instead.
STEP FIVE: Add half of the flour mixture to the wet ingredients and stir. Then, mix in the rest until there are no more streaks of loose flour.
STEP SIX: Scoop out the dough on the prepared baking sheet. For a softer texture, you can roll the dough balls in sugar first.
I recommend using a cookie scoop to scoop consistent circular cookies. I used this cookie scoop.
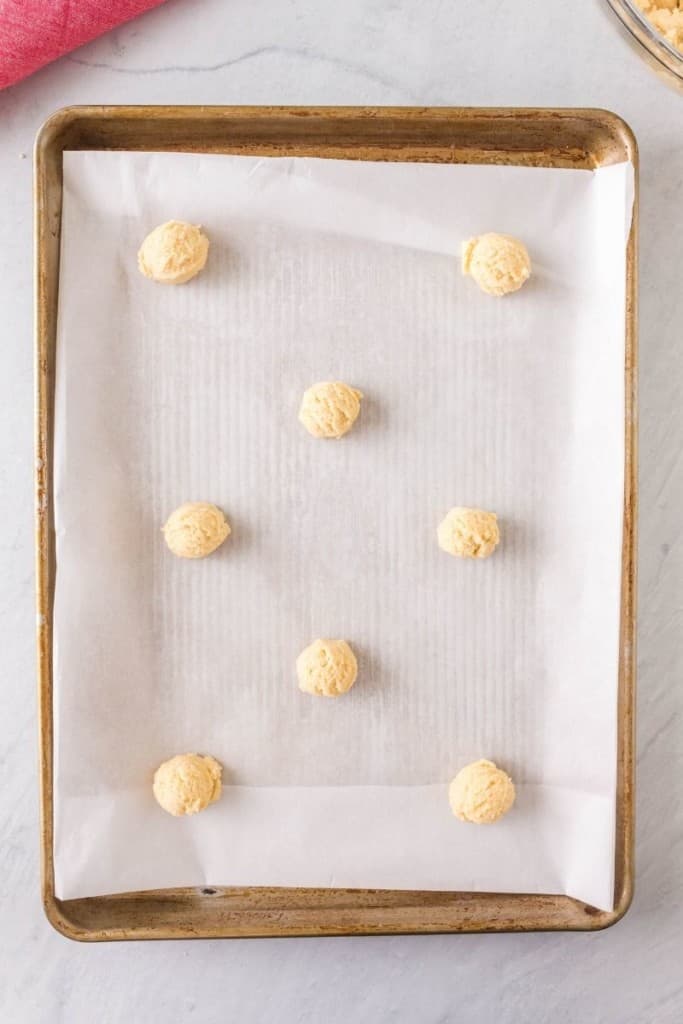
STEP SEVEN: Bake until the edges are nice and golden and the middles are set.
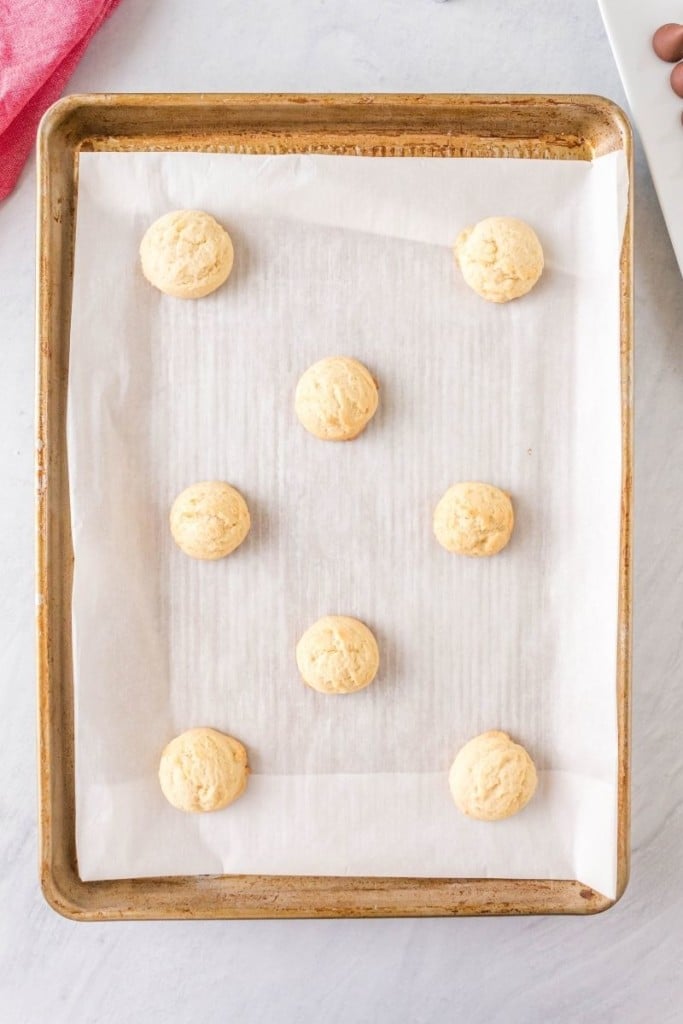
STEP EIGHT: While the cookie rounds are still warm, gently press one Hershey kiss in the middle of each cookie.
STEP NINE: Transfer the blossom cookies without peanut butter to a cooling rack. Serve and enjoy!
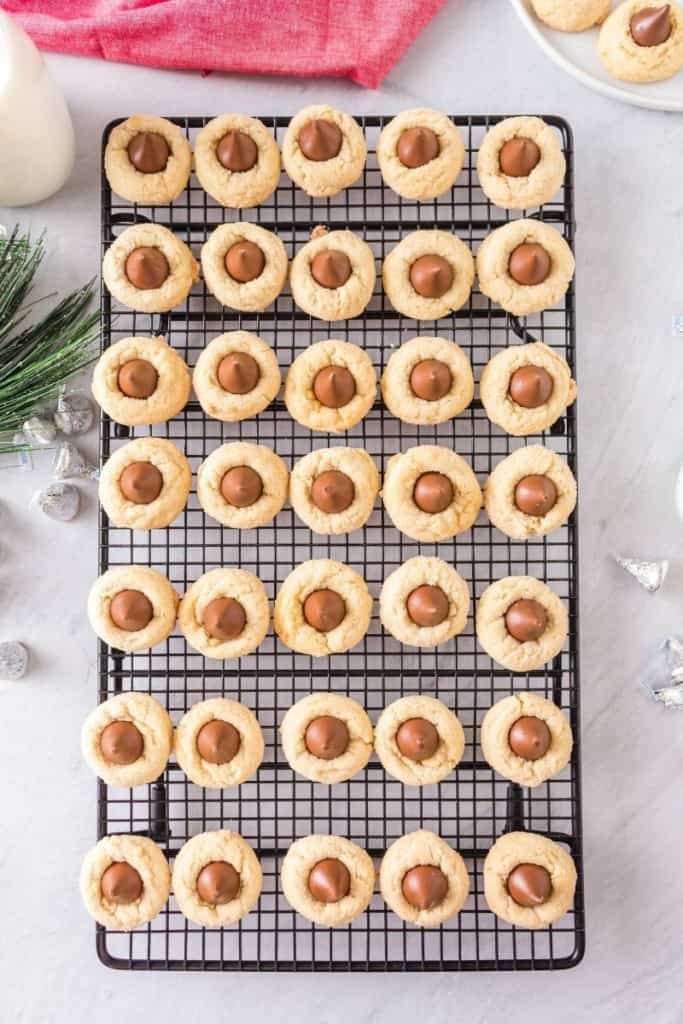
Hershey Kiss Cookies Recipe Tips
- You don’t need a hand mixer, but I like using one. It incorporates more air in the mixture, making for a lighter and softer result!
- Use a cookie scoop to create uniform and nice-looking circular cookies. I used the OXO Good Grips Small Cookie scoop to get 1 tablespoon of dough per cookie.
- Keep the unwrapped Hershey kisses in the fridge while prepping and baking the cookies. This allows the chocolate to harden so they do not melt in the middle of the cookies once placed on top.
- Use a whisk or sifter to mix the dry ingredients. This helps break up any clumps.
- Add the flour mixture in two steps. By adding in the dry ingredients little by little, you allow the wet and dry ingredients to mix faster. This will also help you avoid cleaning up the excess flour that may fly out of the bowl as you mix.
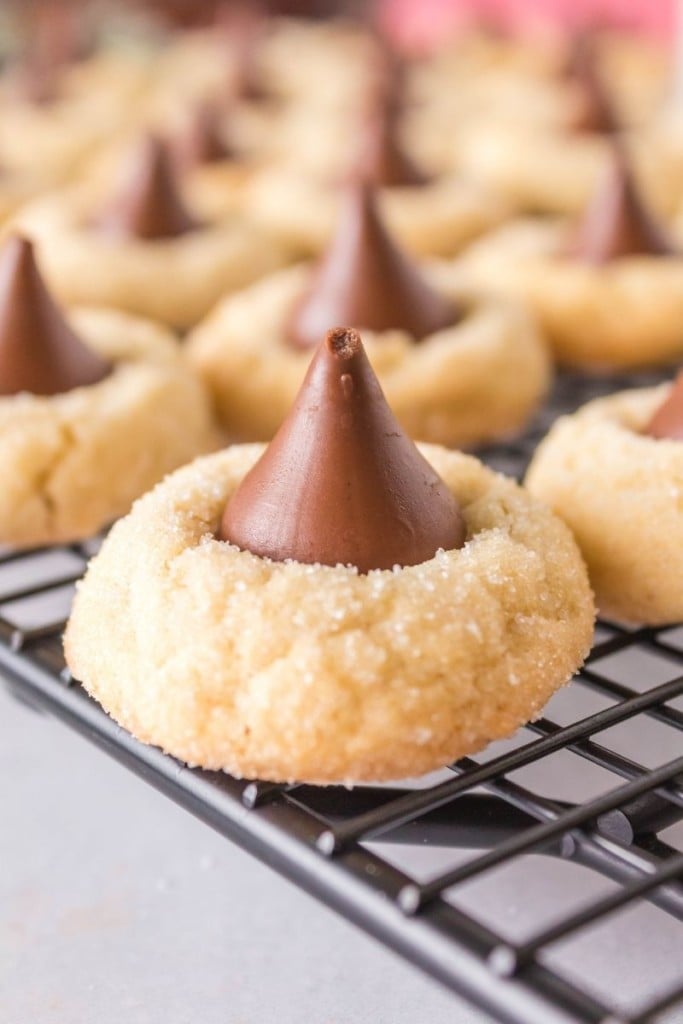
Chocolate Kiss Cookies Recipe Variations
I love using different flavors of Hershey kisses on these cookies! Here are just a few of my favorites:
- Candy Cane Hershey kisses for Christmas
- Mint Truffle Hershey Kisses for a nice kick of mint
- Caramel Hershey Kisses
- Dark Chocolate Kisses
- Almond Kisses for a nice crunch!
- Birthday cake kisses
You can also top the cookies with a Rolo or other candy piece instead or roll the cookies in red or green sprinkles for added color for the holidays.
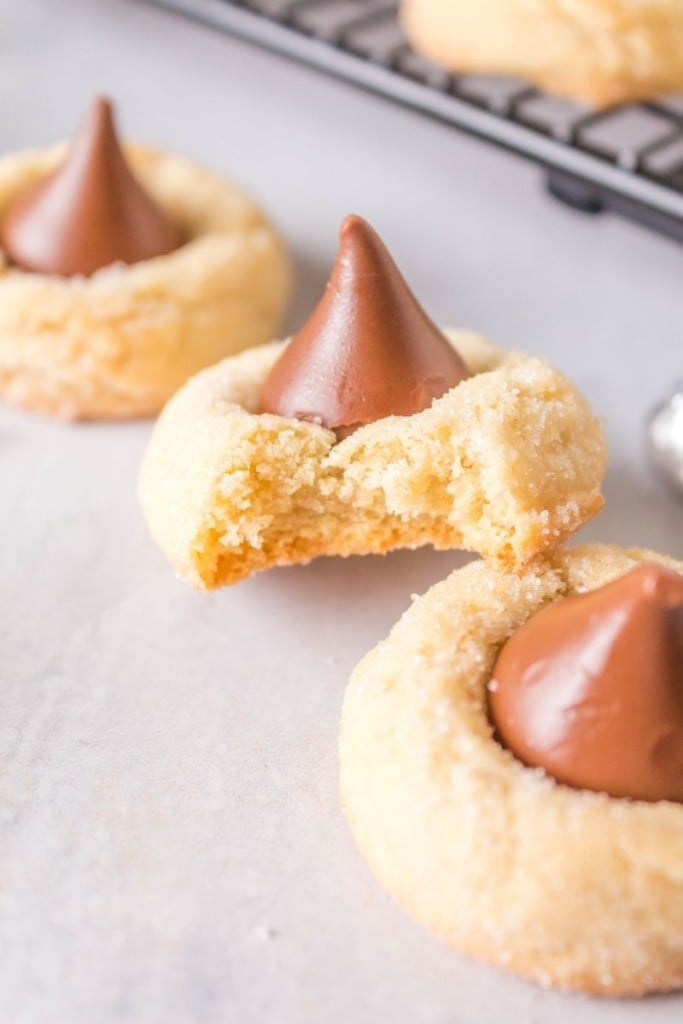
How to store Hershey Kisses Cookies
These will keep at room temperature for 4 to 5 days in an airtight container. Don’t worry about putting them in the refrigerator.
If you want to take them on the go for a midday snack, make sure you close the bag tightly!
Can You Freeze Cookies with Hershey Kisses?
Yes! After they have cooled completely, place them in a freezer-safe container. For an additional barrier against the cold, place the container in a freezer bag.
This dessert will keep in the freezer for about 3 months. To defrost, thaw at room temperature for 1-2 hours before enjoying.
Hershey Kiss Cookies Recipe FAQs
Sugar cookies are lighter than shortbread, which tend to be thick and dense. I use a shortbread cookie base in my Lemon Shortbread Cookies as well..
That’s because shortbread is made with twice the amount of butter as sugar, creating a richer texture overall. Sugar cookies also require baking soda or powder to give them extra lift.
These Hershey Kiss Cookies Without Peanut Butter are made with a shortbread cookie to create that richer texture that goes great with a Hershey kiss on top!
No, you don’t, but rolling the dough in sugar keeps these sweets nice and soft. Without it, the cookie will have a slight crust.
It’s more of a texture preference. I have made Hershey Kiss cookies with shortbread both ways and they’re both enjoyable!
The secret to keeping the kisses from melting on top of these Hershey Kiss cookies is to unwrap the kisses and refrigerate them as you put together and bake the cookie dough. Refrigerating the kisses will harden them up making it harder for them to melt when placed on the cookie..
It is normal for the kisses to melt slightly on the bottom to adhere to the shortbread cookie.
Yes, melted Hershey kisses will harden as they cool. However, if your kisses lose their shape when melted, they will keep that shape once hardened.
More like these Kisses Cookies
- Easy Snickerdoodle Recipe
- Snowball Cookies Without Nuts
- Peanut Butter Kiss Cookies
- White trash recipe
- Saltine Cracker Toffee
- Easy Chocolate Thumbprint Cookies with Toffee
- Iced Thumbprint Cookies
- Chocolate Chip Cookies Without Baking Soda
- 4-Ingredient Oreo Truffles
- No-Bake Oreo Marshmallow Treats
- Vanilla Crinkle Cookies

Hershey Kiss Cookies
Ingredients
- 46 chocolate Hershey kisses
- ½ cup salted butter room temperature (1 stick)
- 1 cup granulated sugar
- 1 egg
- 2 tablespoons milk
- 2 teaspoons vanilla extract
- 2 cups unbleached all-purpose flour
- ½ teaspoon baking soda
- ¼ teaspoon salt
Optional
- ¼ cup granulated sugar to roll balls in before cooking
Instructions
- Preheat your oven to 350 degrees F and line a cookie sheet with parchment paper. Set aside.
- Unwrap all 46 chocolate kisses and place them on a plate. Put them in the refrigerator until you're ready to use.
- In a large mixing bowl, mix with a hand mixer butter, sugar, egg, milk, and vanilla extract together. Mix until they are all combined.
- In a separate medium mixing bowl, combine the all-purpose flour, baking soda, and salt. Mix until all combined.
- Add half of the flour mixture mix and when there is no more loose flour, add the remaining half of flour to the mixture.
- Using a small cookie scoop (or spoon) scoop the dough into a ball then roll each ball into the granulated sugar, if using. Place each completed cookie dough ball on the baking sheet.
- Cook each batch of cookies for 9 to 10 minutes, until the edges are nice and golden. Remove them from the oven.
- Remove the Hershey kisses from the fridge and place 1 kiss in the middle of each cookie and gently press down.
- Transfer the cookies to a cooling rack and enjoy immediately or store once completely cooled.
Video
Notes
Nutrition
This nutrition information is based on the exact products I used in this recipe. Brands and sizes of products could alter exact nutrition and should always be calculated independently.


Thank you for sharing this recipe
You’re so welcome, Om!
Hi do these cookies need to be chilled prior to baking?
Hi Happygolucky, No this recipe does not have to be chilled before baking. Enjoy!
I tried these cookies. I used gram measurements at 350 degrees. They all turned out flat. I also tried chilling and they turned out flat. Any suggestions?
Hi Happy, I’m sorry to hear your cookies turned out flat. Flat cookies are usually caused by one of two things. 1. The butter was not softened, but melted. This could cause cookies to spread during baking. 2. The baking soda might be out of date. I hope this helps!
I just made them but had to add a lot more flour. The first batch flattened out, so I added a significant amount of flour. I live at 3500 ft. and had originally added 2 T. It turns out the guidelines are 2 T. per cup of flour but I ended up adding 6 T. altogether to get them to hold their shape. I rolled them in green or red sugar and used the peppermint striped kisses and they look really cute and taste good!
Hi Elizabeth, Yes, it is slightly different to bake at high altitudes. I’m so pleased the recipe worked out for you! Enjoy!
These cookies turned out well. I especially liked chilling the kisses so they didn’t turn into a puddle, which has happened with other blossom recipes I’ve tried. Good flavor and they look just like the pictures! Thanks for posting
So glad to hear, Bonnie! We are making these again tonight per my daughter’s request since she loves them. 🙂
Hi Sam,
I made this batch of cookies. Came out just like the recipe. I made a first batch with regular all purpose flour (didn’t read the funeral print, lol) I added more flour so it wouldn’t be so sticky. In all it worked our good. My second batch was with the unbleached flour. I did refrigerate for 20 minutes. It did help with the stickiness. Oh, and I did get the yield of 47 cookies. This recipe will be on my list… Merry Christmas
Hi Cheryl, I’m so happy to hear you liked the recipe! Merry Christmas!
It was really good, and it tastes great. I am like 13 and I’ve never baked before and it was actually really easy to make. I burnt the first 6 I made but it was fine. Just one thing though, it took me like 30 min to figure out that I had to melt the butter bc it wasnt working to soften it, or maybe idk the wet mix is supposed to have butter chunks. Other than that, amazing. Will make again
Hi Elle, Great job on your first baking recipe! Room temperature butter should be soft enough to press your finger into, so there shouldn’t be chunks in your dough. A quick hack to soften butter is to fill a travel mug with boiling water, let it sit for a minute, then pour out the water. Place the butter inside the hot mug (without touching the sides) for about 10 minutes. This will give you the perfect texture. Happy baking!
This is an excellent sugar cookie, but it should not be paired with milk chocolate. The chocolate overpowers their lovely sweet vanilla flavor. I find myself taking the kisses right out and eating them separately so that I can actually taste the cookie.
If you’re going to make these, I suggest using Hugs (white chocolate) rather than Kisses. You really need a cookie with a strong enough (or complimentary) flavor if you’re going to pair it with chocolate: if not peanut butter, then maybe chocolate mint.
Hi Michelle, Oh wow, I hadn’t considered white chocolate! That would be such a fun addition. Thanks for your feedback!
This recipe was great! My kids are very much into Harry Potter right now so we subbed the chocolate kisses with Butterbeer kisses and swapped out the vanilla for 1 tsp of butter extract and 1 tsp of Carmel extract.
Hi Bridget, That sounds fantastic! So happy to hear you and your kids enjoyed the cookies!