Making hard boiled eggs has never been so simple thanks to this Ninja Foodi hard boiled eggs recipe! Get perfect results in under 15 minutes every time.
This post may contain affiliate links. If you click on a link and make a purchase, I may receive a small commission at no extra cost to you. For more information, please read my disclaimer.
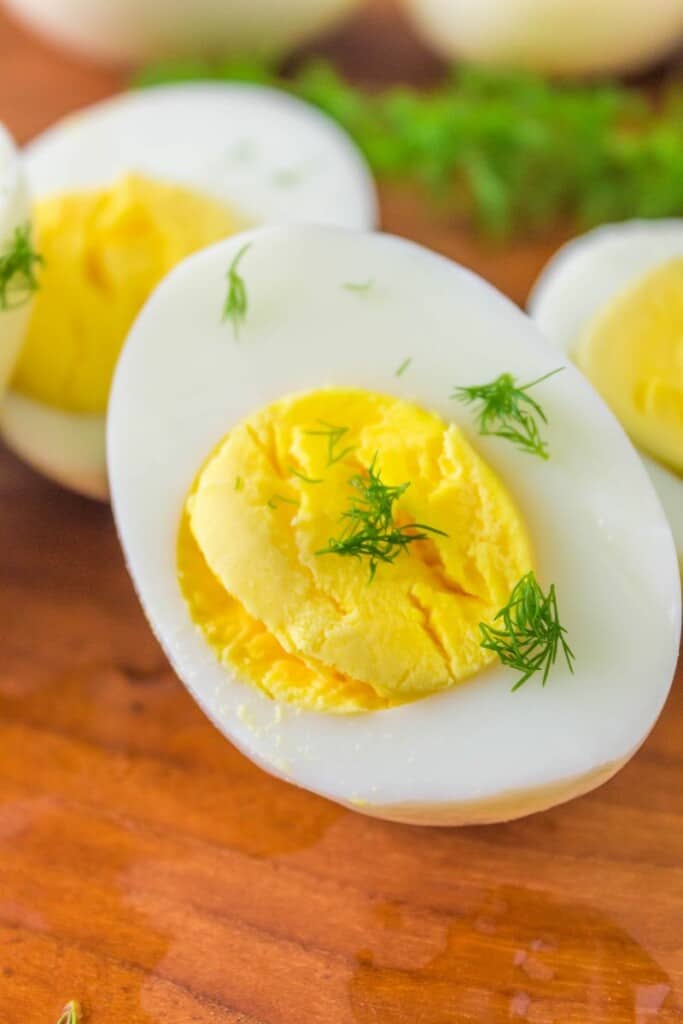
If you’re familiar with the blog, you know how much I love my Ninja Foodi! It’s a pressure cooker AND air fryer, and I use mine all the time!
Recipes like pot roast, pork chops, chicken wings, and mac and cheese come out beautifully each and every time.
I definitely encourage you to check out all of my Ninja Foodi recipes if you have one at home — or if you’re considering buying one yourself!
Today’s recipe is a simple one, but I wanted to show you everything you can do with this kitchen appliance. Ninja Foodi hard boiled eggs are so easy to make.
No more worrying about the correct method to make hard boiled eggs, how long to let them cook, and when to remove them from the hot water.
There is much debate over how to make hard boiled eggs, but I know that you don’t have time to think about the best way to do it. The Ninja Foodi takes all of the guesswork out of it!
All you’ll need for this recipe are eggs, water, and (of course) your Ninja Foodi!
Prefer to use the air fryer function on the Ninja Foodi? Use our air fryer hard boiled eggs recipe instead!
Here’s what I’m going to teach you in this post:
- The exact method for making hard boiled eggs in the Ninja Foodi.
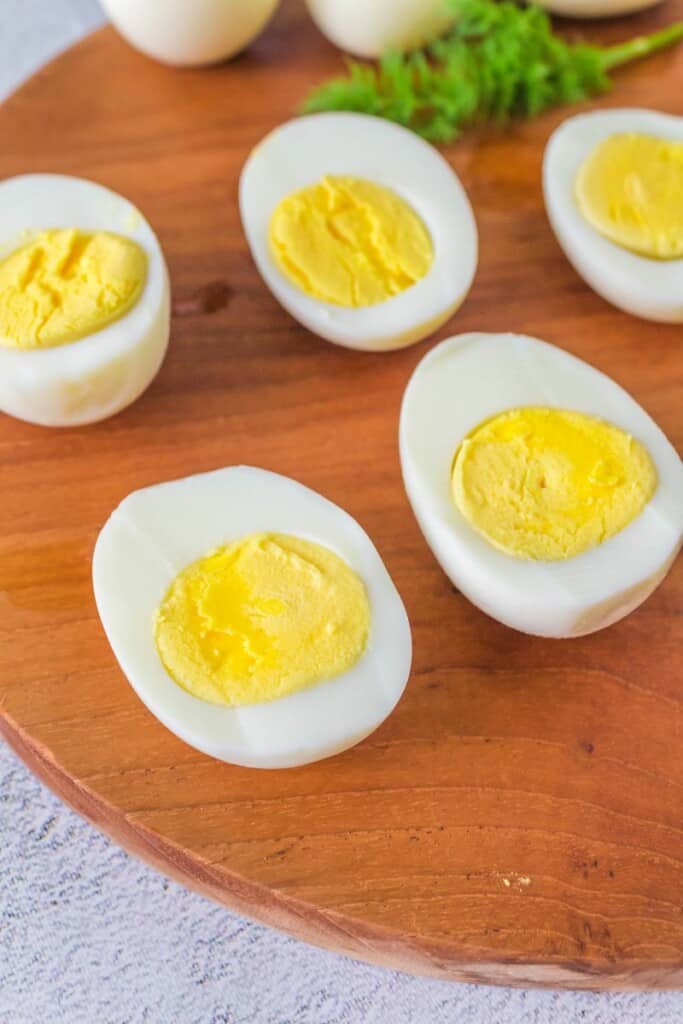
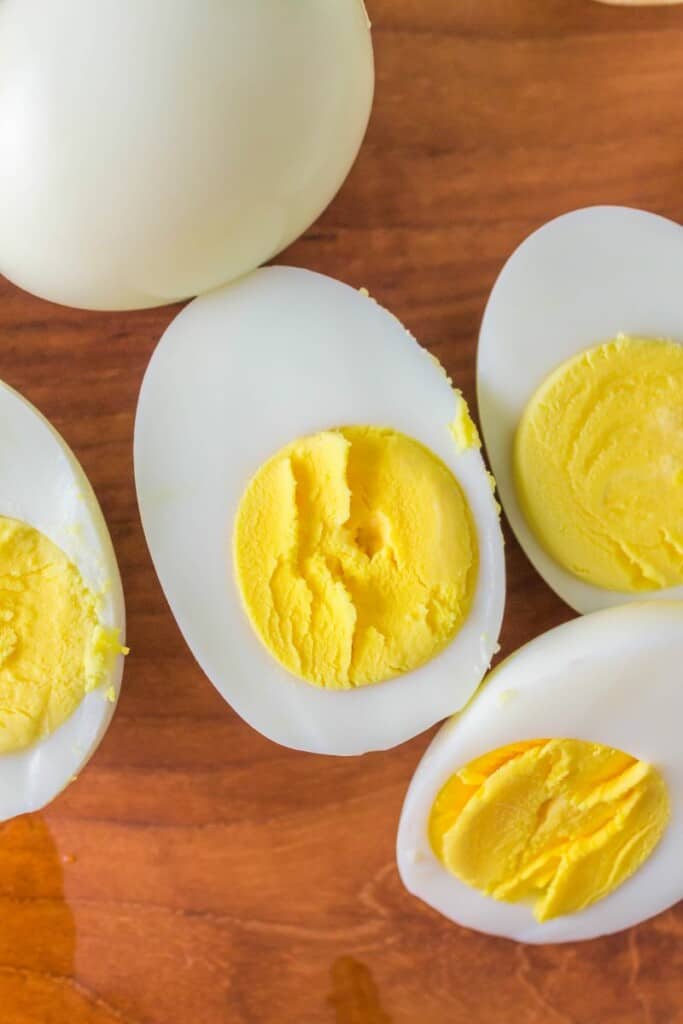
- Instructions on how to get perfectly hard boiled eggs every single time — without worrying about runny or overcooked results.
- Answers to a few frequently asked questions on how to make hard boils eggs in the Ninja Foodi.
Sometimes the simplest recipes can be the most difficult to get the hang of. Hard boiled eggs are proof! If you want to get yours just right, you’ll really appreciate the Ninja Foodie method.
I used the Ninja Foodi 8QT Pressure Cooker and Air Fryer for this recipe. I find this to be a great size for my family of four!
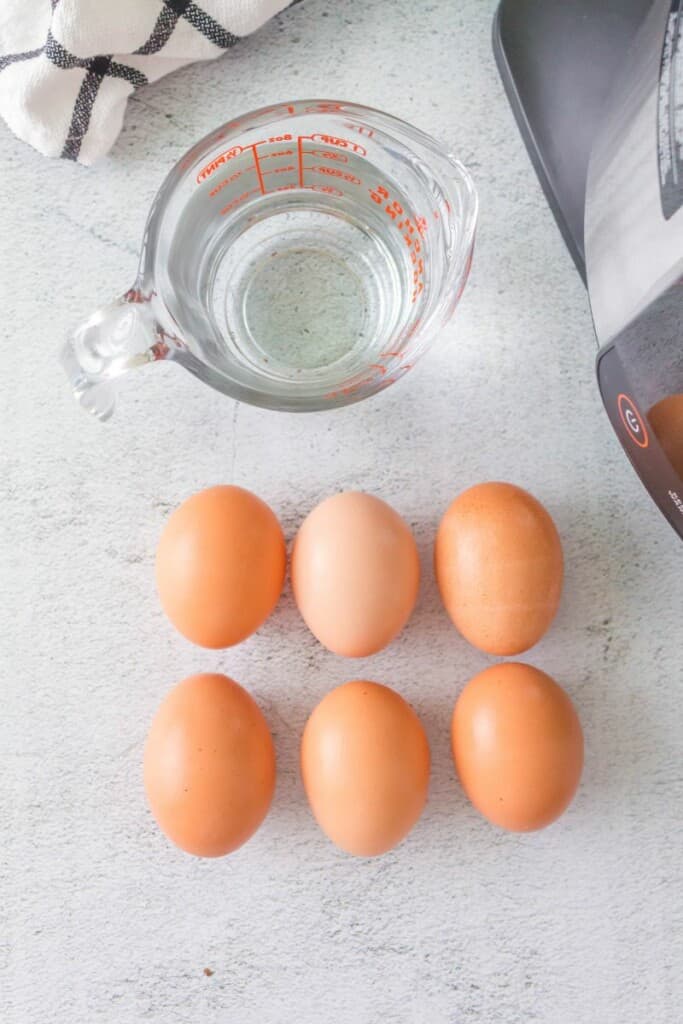
How to Make Ninja Foodi Hard Boiled Eggs
A full printable version of this recipe with ingredient measurements is available at the bottom of this post.
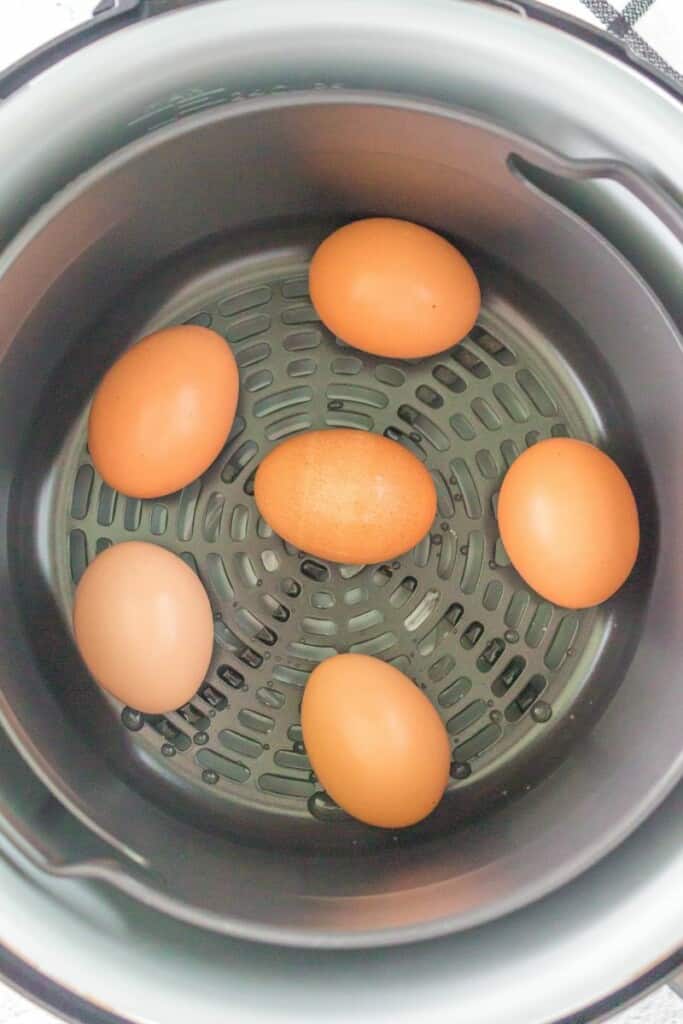
STEP ONE: Grab your Ninja Foodi and place 1 cup of water into the inner gray pot. Next, place the eggs into the crisp basket, otherwise known as the air fryer basket.
STEP TWO: Cook the eggs on High Pressure for 4 minutes, then do a natural pressure release for 4 minutes. Follow that with a quick release, which should last for about 1 minute and 30 seconds.
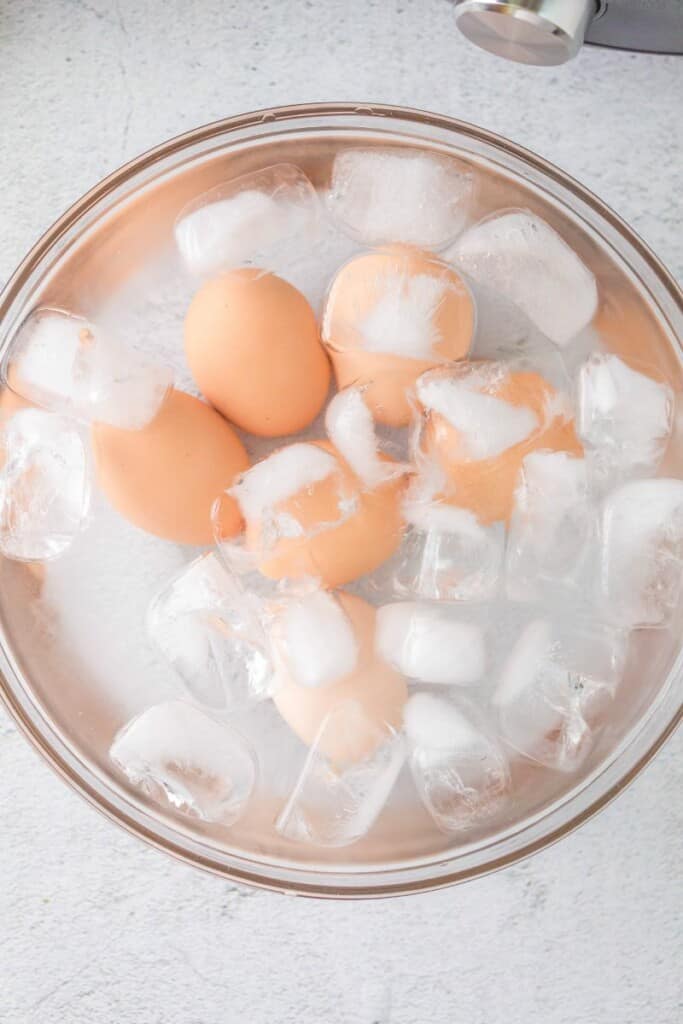
STEP THREE: Remove the eggs from the basket and place them in an ice bath to cool for 4 minutes — don’t skip this step as it stops the eggs from cooking.
STEP FOUR: Crack and peel the eggs. I like to do it under running water as it makes the peeling process a lot easier.
STEP FIVE: Place your Ninja Foodi hard boiled eggs on a plate and gently dry them with a paper towel or clean cloth. Serve as desired (I like mine with a little salt and pepper) and enjoy! You can also make hard boiled eggs in the Ninja Foodi to use in salads or for deviled eggs (find recipes here, here, and here!).
How Do You Boil Eggs In The Ninja Foodi?
All you need to do is pour the water into the inner pot and place the eggs in the basket. Then, follow the easy instructions above (and on the recipe card below) to know how long to allow your eggs to cook!
Can You Make Hard Boiled Eggs In Ninja Foodi?
Absolutely — that’s what this Ninja Foodi hard boiled eggs recipe is all about! Just like when you hard boil eggs on the stove, all you’ll need are some eggs and water. You’ll of course need your Ninja Foodi as well.
How Long Does It Take to Hard Boil Eggs In An Air Fryer?
It should take about 13 minutes from start to finish, and you’ll end up with perfectly boiled eggs every time. It’s just one more reason why I adore this appliance!
Remember: a Ninja Foodi is both an air fryer and a pressure cooker, meaning that you can use it to prepare so many different meals.
What Temperature Should Eggs Be In An Air Fryer?
You won’t have to worry about adjusting the temperature on your Ninja Foodi for this recipe as you’ll be using the pressure cooker feature.
You’ll have to cook them on High Pressure for a few minutes and then toggle between the natural and quick-release settings to finish the cooking time for your Ninja Foodi hard boiled eggs.
Other Ninja Foodi Recipes You’ll Love:
- Ninja Foodi Chili
- Ninja Foodi Mac and Cheese
- Ninja Foodi Mashed Potatoes
- Ninja Foodi Chicken Thighs
- Ninja Foodi Beef Stew
- Ninja Foodi Rice

Ninja Foodi Hard Boiled Eggs
Ingredients
- 1 cup water
- 6 eggs I used 6 eggs but you can definitely use 12 at a time
Instructions
- Pour 1 cup of water into the inner pot (gray pot)
- Place the eggs into the crisp basket (air fryer basket)
- Cook on High Pressure for 4 minutes
- Do a natural release for 4 minutes, then quick release (about 1 minute 30 seconds)
- Transfer the eggs into an ice bath and cool for 4 minutes. This process stops the cooking.
- Crack and peel the eggs. (I like to do this step under running water)
- Place in a plate, and gently pat dry with a paper towel.
- Serve and Enjoy!
Video
Nutrition
This nutrition information is based on the exact products I used in this recipe. Brands and sizes of products could alter exact nutrition and should always be calculated independently.


I have the ninja 4 in 1 portable and i dont know if this will work for me or not..
Hi Glenda, I believe that machine has an air fryer function. This recipe for air fryer hard boiled eggs should be a better fit for your machine. Enjoy.