This Ninja Foodi pot roast with potatoes and carrots recipe is comfort food at its finest! Tender pot roast, wholesome vegetables, and a flavorful gravy come together in the pressure cooker.
This post may contain affiliate links. If you click on a link and make a purchase, I may receive a small commission at no extra cost to you. For more information, please read my disclaimer.
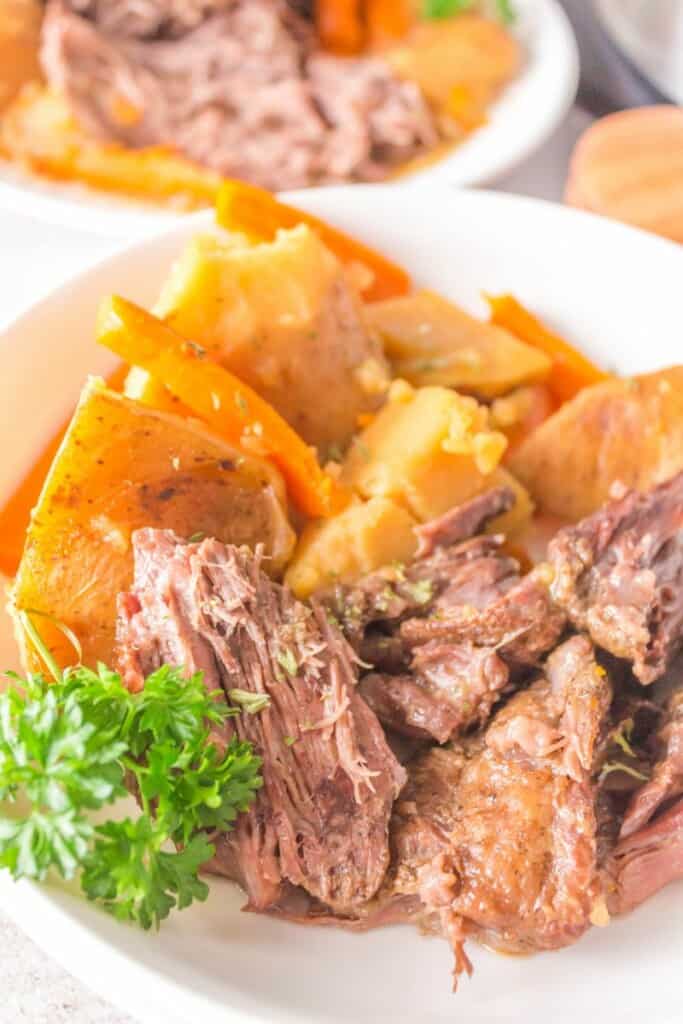
I don’t know about you, but I grew up on pot roast! It was always a once-a-week thing in my house, and I have to admit — I looked forward to it!
Not only would the kitchen fill with rich aromas as the roast cooked, but eating it together as a family was such a special moment.
I love making this Ninja Foodi Pot Roast recipe and also my Mississippi pot roast recipe in my slow cooker to switch things up!
If you’ve visited the blog before, you know that I have a passion for whipping up meals that we all know and love in my air fryer!
It makes cooking dishes that would normally take hours simple and easy, and cuts the cooking time down significantly.
It also means easy cleanup. I especially love my Ninja Foodi as it’s both an air fryer AND a pressure cooker. You can do so much with it.
If you like where my head’s at, I definitely encourage you to check out this recipe for shake and bake pork chops in the air fryer, this air fryer sirloin steak, or these Ninja Foodi chicken breasts.
In the meantime, let’s get started on my Ninja Foodi pot roast with vegetables recipe!
Here’s what I’m going to teach you in this post:
- All of the information on the ingredients you’ll need to prepare a pot roast in a Ninja Foodi.
- Step-by-step instructions including how to sear the meat before cooking it with the vegetables.
- How to prepare Ninja Foodi pot roast with gravy — all in the pressure cooker!
My Ninja Foodi pot roast recipe is one for the books. It takes less time and requires less cleanup than a traditional pot roast meal. And, best of all, it tastes amazing!
I used the Ninja Foodi 8QT Pressure Cooker and Air Fryer for this recipe. I find this to be a great size for my family of four!
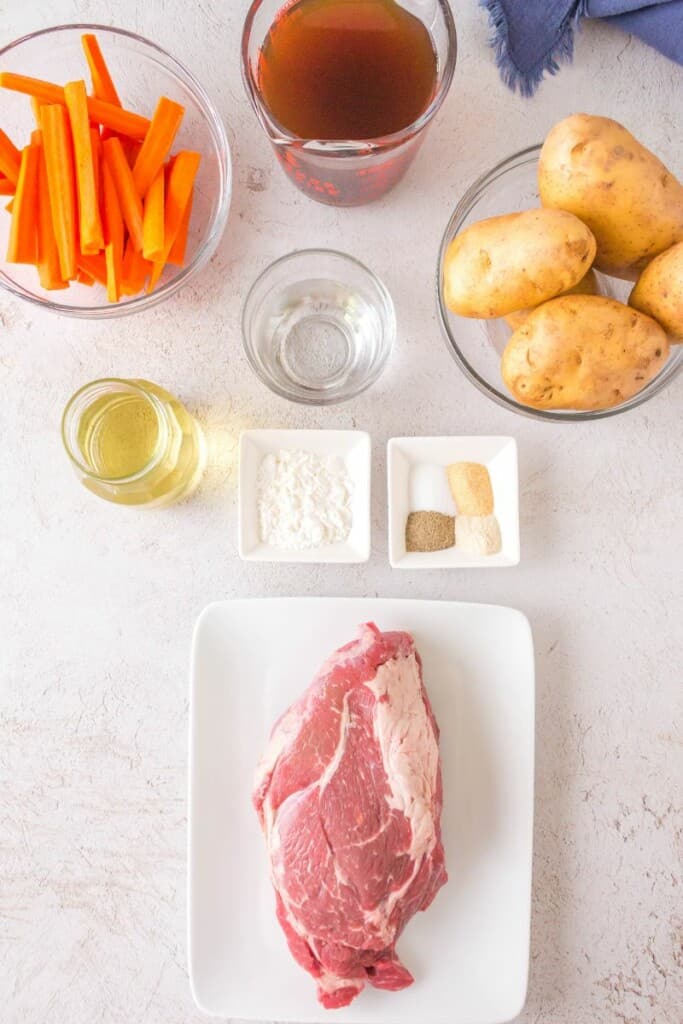
How to Make Ninja Foodi Pot Roast
A full printable version of this recipe with ingredient measurements is available at the bottom of this post.
STEP ONE: Unwrap your chuck roast and pat dry with a paper towel. Then, sprinkle with salt, pepper, garlic, and onion powder. Make sure to coat the meat entirely with the seasonings. Set your Ninja Foodi to the sear setting and allow it to warm for 2 minutes.
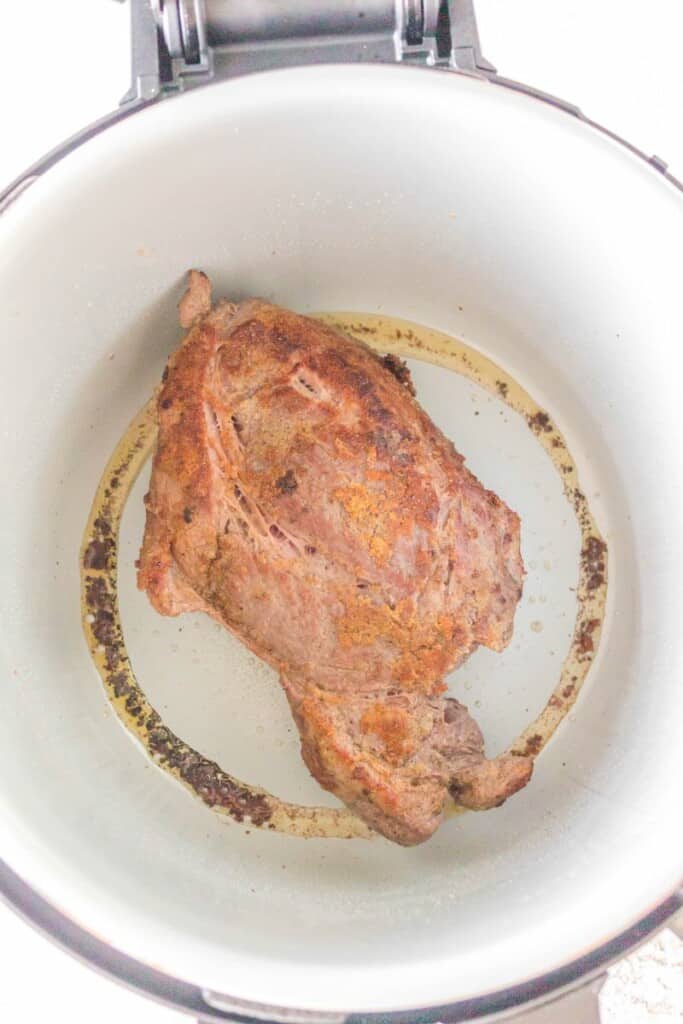
STEP TWO: Pour the olive oil into the pressure cooker, then sear the meat for 2 minutes on each side and 1 minute on each edge. Remove the chuck roast, and (keep the setting on sear) pour a bit of the beef broth into the Ninja Foodi. Mix in order to release any remaining seasoning from the liner.
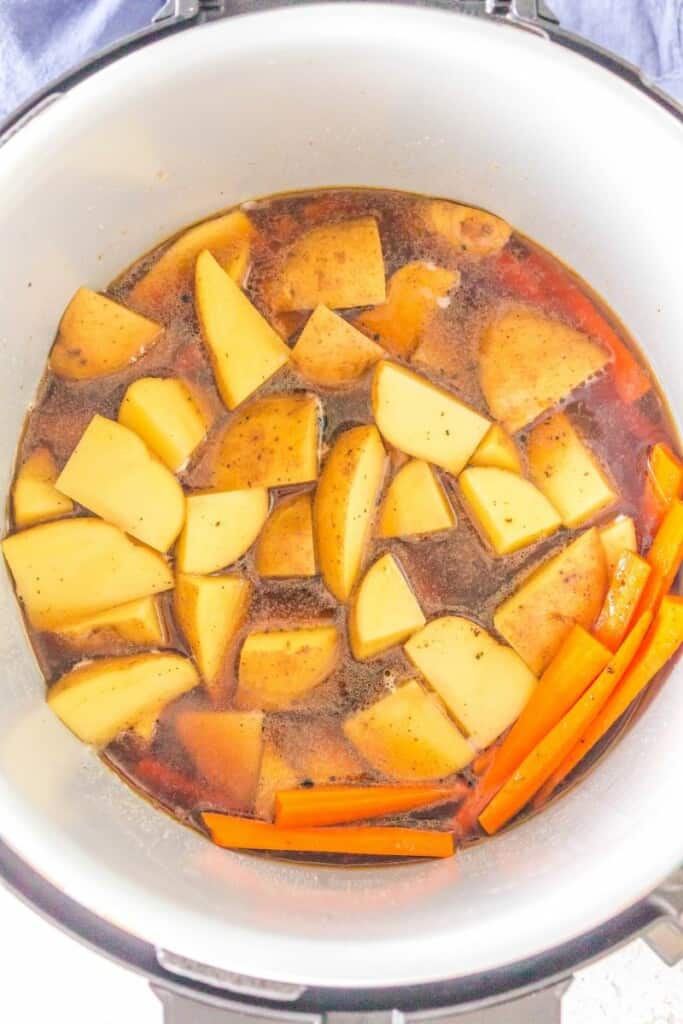
STEP THREE: Place the carrots and potatoes inside the Ninja Foodi, then pour in the rest of the broth on top. Add the meat and set it to pressure in order to cook it for 50 minutes on high. Don’t forget to close the valve.
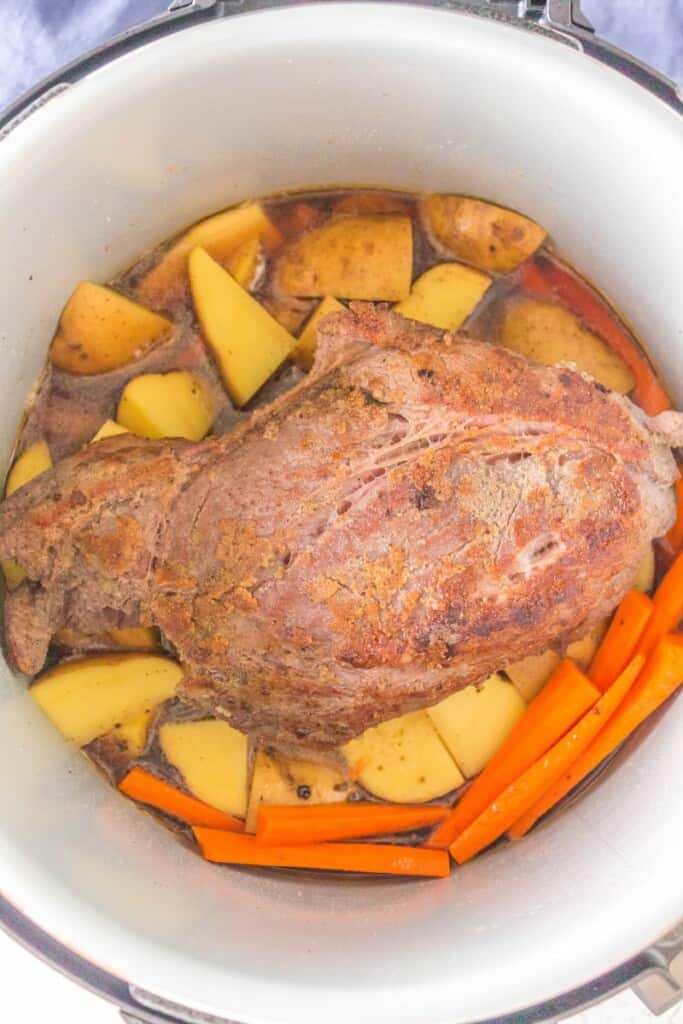
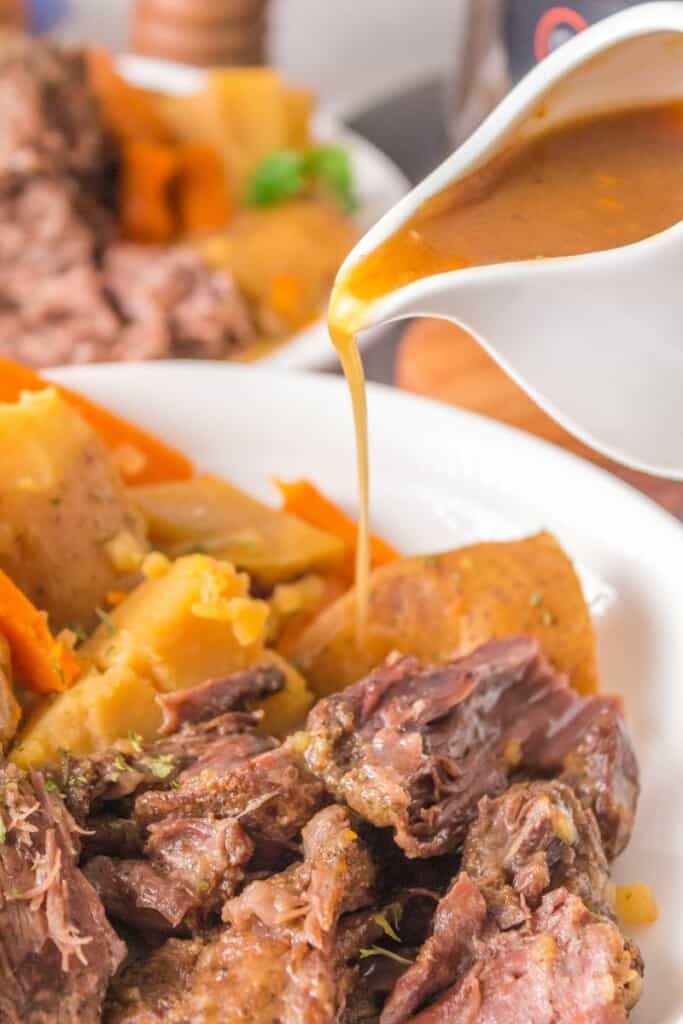
STEP FOUR: After it’s finished cooking, natural release for about 10 minutes and then quick release. Remove the pot roast and vegetables and change the setting to sear. Bring the remaining broth to a boil. While you wait, mix the cornstarch and water in a small bowl, then add it to the boiling broth — this will help to thicken your gravy.
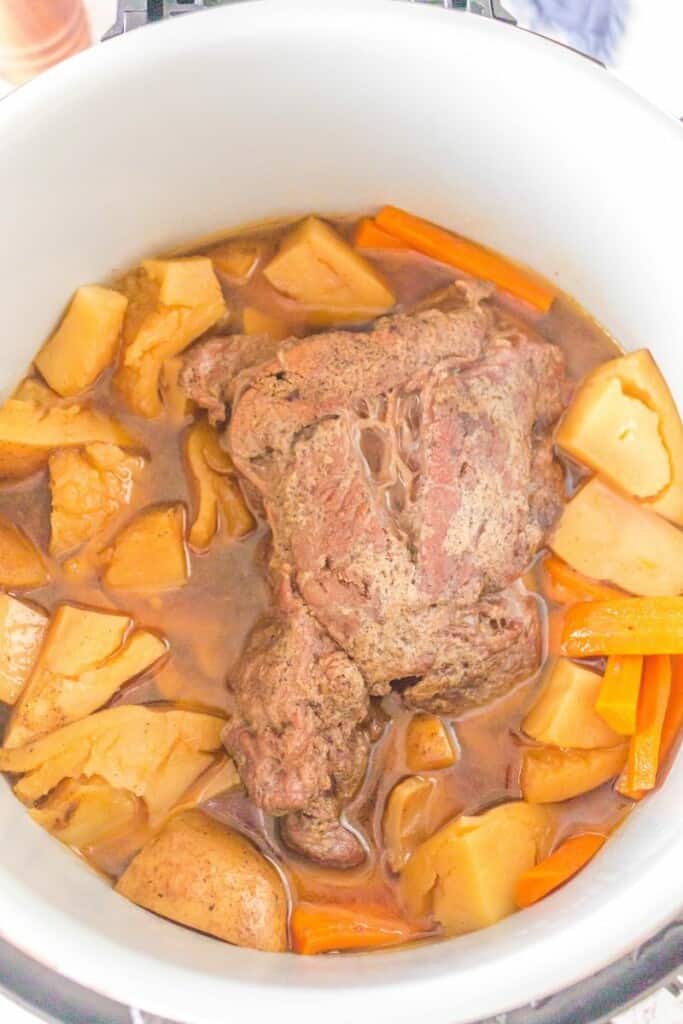
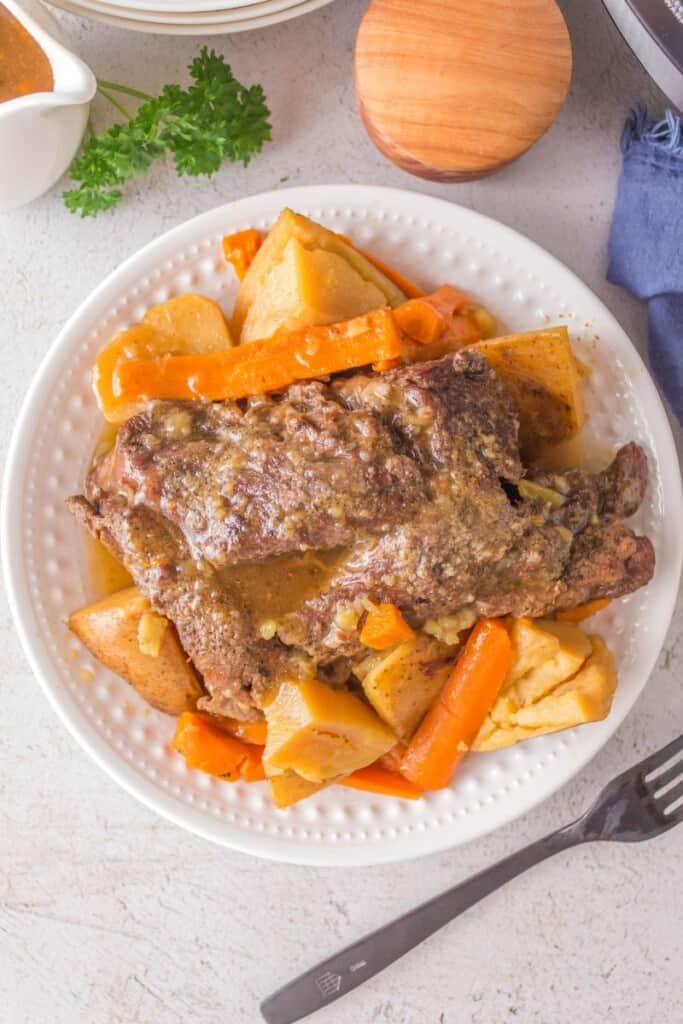
STEP FIVE: Put the meat, carrots, and potatoes back into the pressure cooker in order to combine. Turn off the heat, serve with a salad of your choice, and enjoy!
Can I Cook Pot Roast In My Ninja Foodi?
Absolutely! As mentioned, not only will you have less clean-up if you make a pot roast in a Ninja Foodi, but you’ll also enjoy tender and moist results every time.
No more worrying about dried-up results!
How Do You Roast In A Ninja Foodi?
If you follow the instructions above and on the recipe card, you’ll be able to get the same results as roasting in your oven.
There are other methods for Ninja Foodi pot roast with potatoes and carrots, including using the broil setting, but I like using the sear and pressure cook technique I describe here.
How Long Do I Cook A Roast In A Pressure Cooker?
Depending on the size of your chuck roast, this Ninja Foodi pot roast with vegetables recipe shouldn’t take more than about an hour to cook.
You’ll have to allow 6 to 8 minutes for searing and then another 50 minutes to cook the meat.
If you’re concerned about undercooking it, keep a meat thermometer on hand. The internal temperature should be at least 145 degrees F.
How To Store Ninja Foodi Pot Roast
You can store any Ninja Foodi pot roast with gravy leftovers in an airtight container in the fridge. They will typically keep for up to 3 days!
Other Ninja Foodi Recipes You’ll Love:
- Ninja Foodi Beef Stew
- Ninja Foodi Chicken Wings
- Ninja Foodi Pork Chops
- Ninja Foodi Meatloaf
- Ninja Foodi Hard Boiled Eggs
- Ninja Foodi Mashed Potatoes
- Ninja Foodi Chili
- Ninja Foodi Rice
- Ninja Foodi Chicken Thighs
- Ninja Foodi Mac and Cheese
- Ninja Foodi Baked Potato
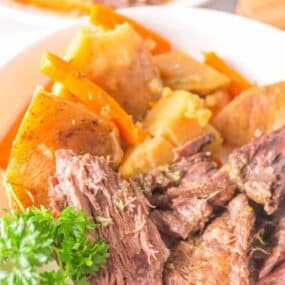
Ninja Foodi Pot Roast
Ingredients
- 2 pounds chuck roast
- 2 tablespoons olive oil or any vegetable oil
- 2 teaspoons salt
- 1 teaspoon garlic powder
- 1 teaspoon onion powder
- ½ teaspoon ground black pepper
- 3 cups beef broth
- 2 pounds carrots peeled and julienne
- 2 pounds Golden potatoes clean and diced
- 2 tablespoons cornstarch
- 2 tablespoons water
Instructions
- Unpack the chuck roast. Pat dry with a paper towel.
- Sprinkle spices on the chuck roast to coat and tap gently, so seasoning sticks to the meat.
- Set the Ninja Foodi to Sear. Warm up for 2 minutes.
- Pour the olive oil and sear the chuck roast, 2 minutes on each side and 1 minute on each edge.
- Take the chuck roast out of the Ninja Foodi.
- Still on Sear mode, gently pour the beef broth (careful for splashes) and mix to incorporate and release all cooked seasoning in the liner.
- Add the peeled carrots and diced potatoes.
- Pour in the beef broth. Mix.
- Place the chuck roast on top.
- Set the Foodi to pressure to cook for 50 minutes on HIGH. Valve to close
- Natural release for 10 minutes, then quick release.
- Take meat and veggies out.
- Place the Foodi on Sear and bring to a boil.
- In a small bowl, combine cornstarch and water.
- Add the cornstarch mixture to the broth while mixing.
- This will thicken your sauce.
- Add the meat and the vegetables back into the Ninja Foodi
- Serve and Enjoy!
Video
Nutrition
This nutrition information is based on the exact products I used in this recipe. Brands and sizes of products could alter exact nutrition and should always be calculated independently.

