These peppermint Kiss cookies are a perfect way to treat the whole family to some holiday cheer! The chocolate shortbread cookies with a candy cane Kiss center are irresistible.
This post may contain affiliate links. If you click on a link and make a purchase, I may receive a small commission at no extra cost to you. For more information, please read my disclaimer.

Ready to get into the holiday spirit with some festive baking? Look no further than these simple yet oh-so-delicious peppermint Kiss cookies!
A tasty chocolate shortbread cookie with that cool candy-cane Kiss center is sure to make your tastebuds merry and bright.
Best of all, you’ll love how easy it is to whip up a batch totally from scratch… well, besides the classic Hershey’s Kiss centers, of course!
Here’s what I’m going to teach you in this post:
- How to make peppermint Hershey kiss cookies
- Tips for making the best blossom cookies that hold their shape and look amazing
- Variations for your chocolate Kiss cookies
- How to store candy cane Kiss cookies to enjoy for days, weeks, or even months
This is also a fun recipe for the little ones to help you make.
An adult probably needs to handle the mixing portion, but kids of any age can press the peppermint Kiss into the center of the cookie for that finishing touch!
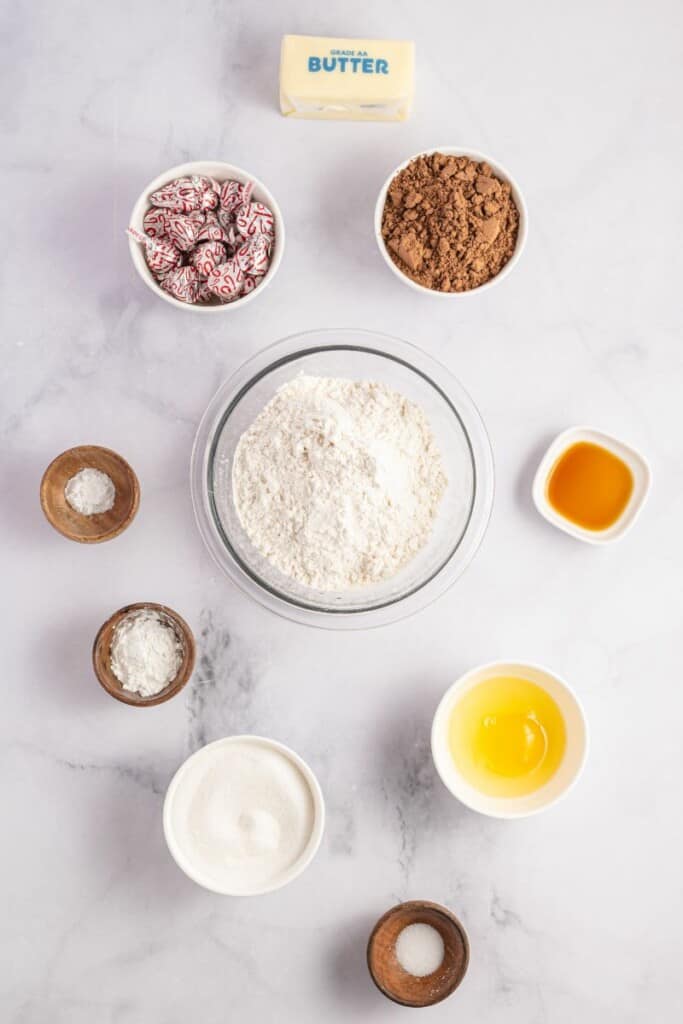
How to Make Peppermint Kiss Cookies
A full printable version of this recipe with ingredient measurements is available at the bottom of this post.
STEP ONE: Preheat the oven to 350 degrees F. Line 2 large baking sheets with parchment and set aside.
STEP TWO: Combine the flour, cocoa powder, cornstarch, baking powder, and salt in a medium bowl, then whisk until well-combined.
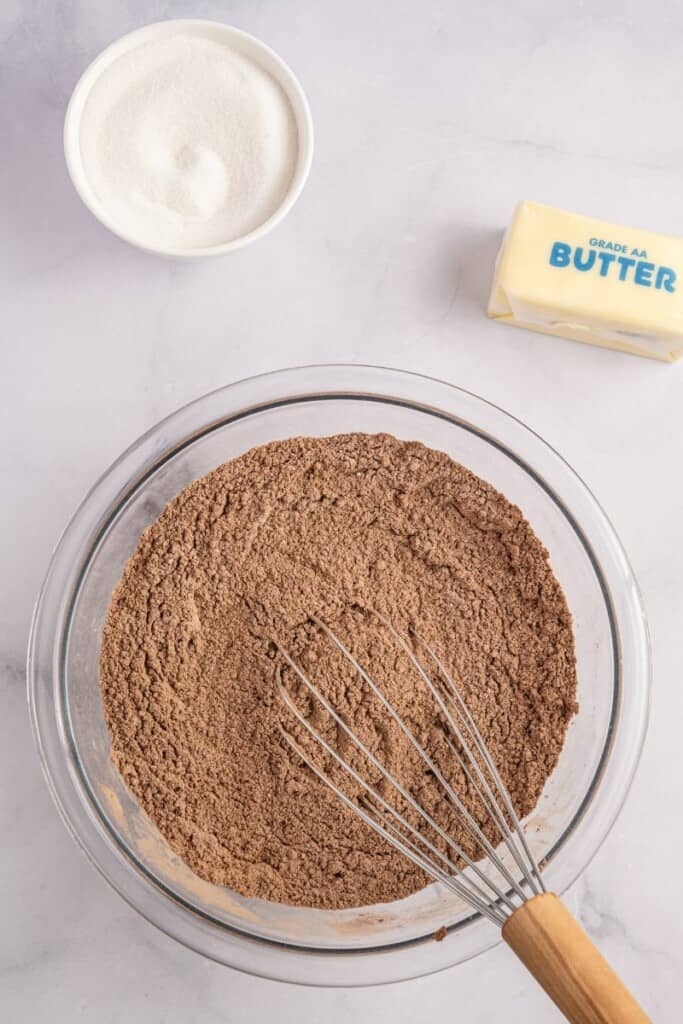
STEP THREE: In a separate large bowl, use an electric hand mixer to mix the butter and sugar until fluffy.
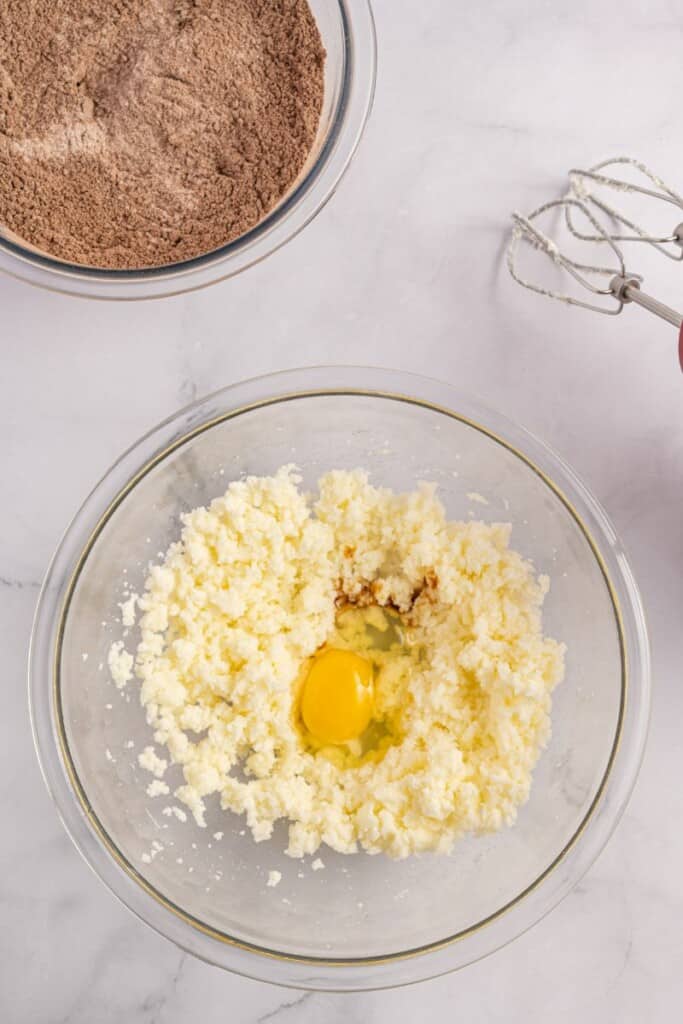
STEP FOUR: Add the egg and vanilla extract to the fluffy butter and sugar, then continue mixing.
STEP FIVE: Add the dry ingredients and mix at a low speed until the dough is crumbly and pliable.
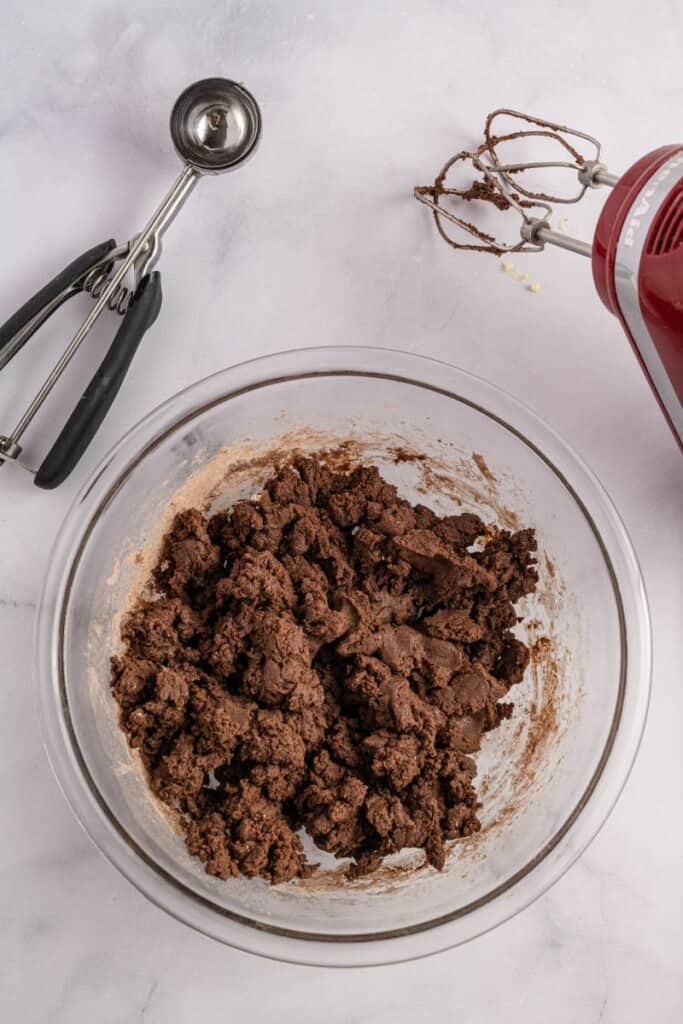
STEP SIX: Use a 1½ tablespoon cookie scoop to scoop out the dough for each cookie. Roll them with your hands until they are smooth, tight balls, then set them on the cookie sheets, about 2 inches apart.
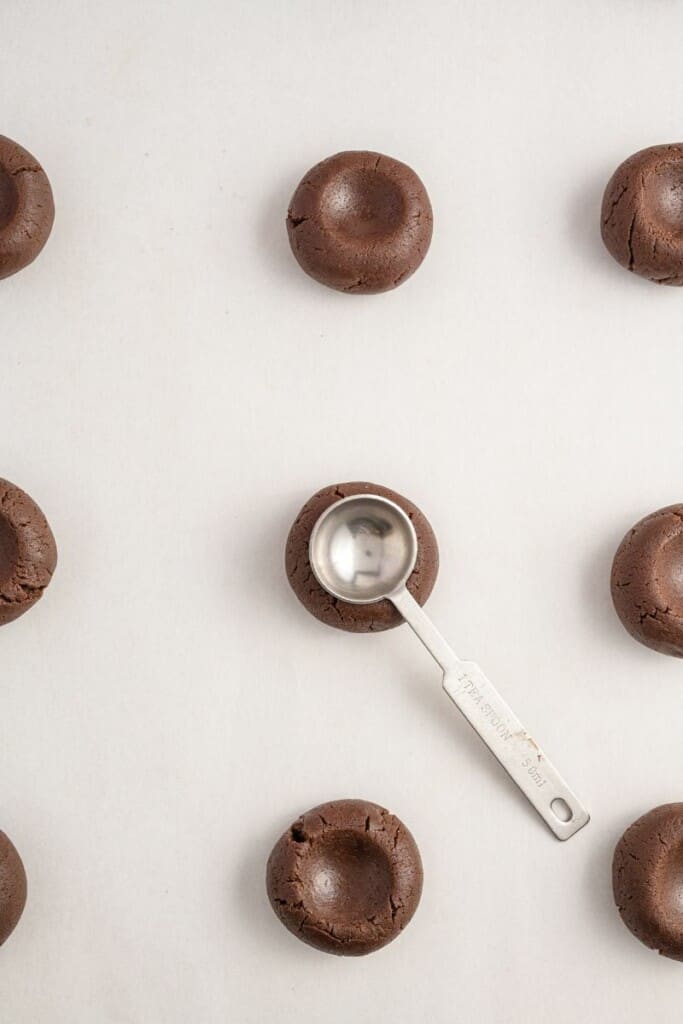
STEP SEVEN: With a measuring teaspoon, press down the center of each cookie slightly. The dough may crack a bit.
STEP EIGHT: Bake the cookies, 1 cookie sheet at a time, for 15 minutes or until they have risen slightly. Press the centers of the cookies down again if they have risen too much while baking.
STEP NINE: Rest the cookies on a cooling rack for about 5 minutes.
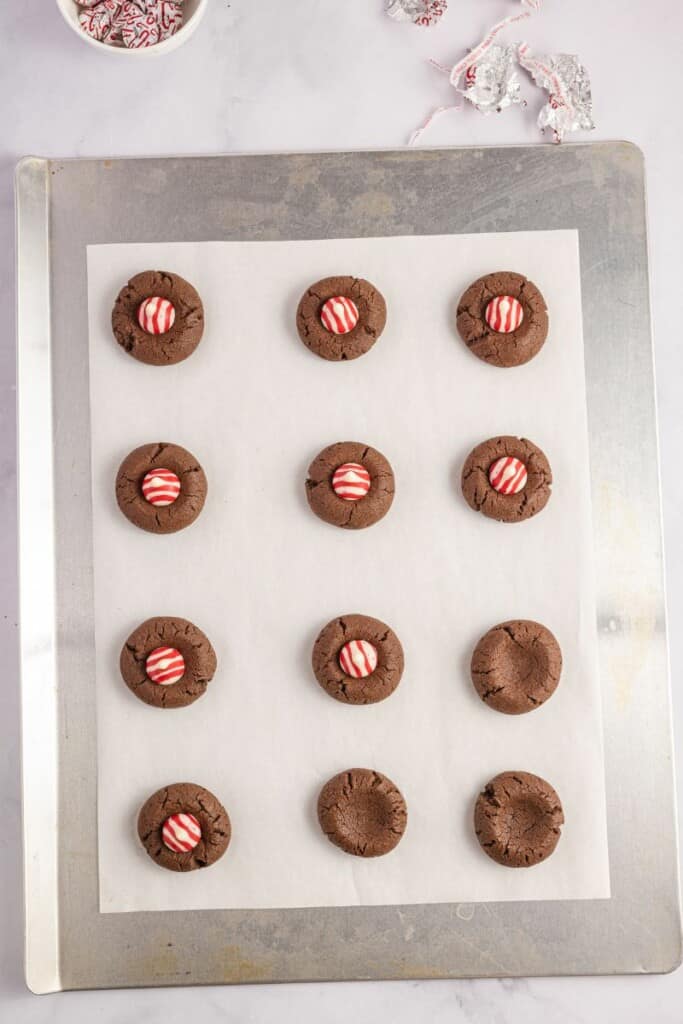
STEP TEN: When the cookies are still warm but not hot to the touch, press a peppermint kiss into the center of each one.

STEP ELEVEN: Let the cookies cool completely before serving.
What Are Kisses Cookies?
Also known as chocolate kisses cookies or blossom cookies, the name refers to a chocolate shortbread cookie that has a Hershey Kiss pressed into the center.
Keep in mind that the Kiss should be added after the bake so that it doesn’t melt in the oven!
These are a classic holiday cookie that’s perfect for parties or treating the family to some tasty cheer.
Tips for Making the Best Peppermint Blossom Cookies
- Try not to over-mix the egg. Over-mixing may affect how much the cookies rise in the oven.
- If you put the Kisses on the cookies too soon after they are out of the oven, they will melt. However, if you wait too long, they won’t stick to the cookies. That’s why it’s important to keep an eye on the temperature of the cookies while they are resting. I found that waiting 5-10 minutes is a good amount of time before adding the Kisses so they stick to the cookies without melting too much.
- Make sure you use baking powder and not baking soda. Baking powder will help the cookies rise slightly, but baking soda will cause the cookies to spread and lose their shape.

Variations for Peppermint Kiss Cookies
- You can use salted butter instead of unsalted butter if that’s what you have on hand. Just make sure to omit the added salt.
- Feel free to use any other Christmas Kisses or even regular Kisses like these chocolate kiss cookies and peanut butter kiss cookies. Pretty much all of them are going to taste amazing nestled inside a chocolate cookie!
- Try this recipe for sugar cookies with Hershey kisses or Hershey kiss cookies without peanut butter for a little variation.
- For a sugar coating that will give the cookie a sweet and crunchy exterior, roll the dough ball in granulated sugar before setting on the baking sheet.

Can You Store Candy Cane Kiss Cookies?
Absolutely! Feel free to keep them in an airtight container at room temperature for up to 6 days.
Just remember that if they are in a warm room or in direct sunlight, the kisses could melt.
Alternatively, you can store them in the refrigerator in an airtight container for up to 10 days.
I recommend letting them come up to room temperature before serving so they aren’t too hard.
Can You Freeze Hershey Kiss Cookies For Longer Storage?
You bet! Place the cookies in an airtight container and freeze them for up to 3 months. Just make sure you let them thaw completely before serving or they’ll be too hard to eat.

Other Cookie Recipes You’ll Love:
- Chocolate Marshmallow Cookies
- Lemon Shortbread Cookies
- Cookie Monster Cookies
- Soft Cut Out Sugar Cookies
- 3 Ingredient Peanut Butter Blossoms
- Chocolate Thumbprint Cookies
- Vanilla Crinkle Cookies

Peppermint Kiss Cookies
Ingredients
- 1 3/4 cups all-purpose flour spooned and leveled
- 2/3 cup unsweetened cocoa powder
- 1 tablespoon cornstarch
- 1/2 teaspoon baking powder
- 1/4 teaspoon salt
- 1/2 cup 1 stick unsalted butter, room temperature
- 1 cup granulated sugar
- 1 large egg room temperature
- 1 teaspoon vanilla extract
- 22 peppermint kisses candies
Instructions
- Preheat the oven to 350°. Lay out 2 pieces of parchment paper on 2 large cookie sheets. Set aside.
- Combine the flour, cocoa powder, cornstarch, baking powder, and salt in a medium bowl and whisk.
- In a separate large bowl, use an electric hand mixer to mix the butter and sugar until they are fluffy.
- Add the egg and vanilla extract, and continue mixing.
- Pour in the dry ingredients, and mix at low speed until the dough is crumbly and pliable.
- Use a 1 1/2 tablespoon cookie scoop to scoop out balls of dough and roll them with your hands until they are smooth, tight balls. Set them on the cookie sheets about 2 inches apart. (I fit 12 cookies on 1 cookie sheet.)
- Press down the center of each cookie slightly with a measuring teaspoon. It’s okay if the dough cracks a little bit.
- Bake the cookies, 1 cookie sheet at a time, for 15 minutes or until they have risen slightly. Press the centers of the cookies down again if they have risen too much while baking.
- Rest the cookies on a cooling rack for about 5 minutes (or until they are still warm but not hot to the touch), then press a peppermint kiss into the center of each cookie.
- Let the cookies cool completely, then serve.
Nutrition
This nutrition information is based on the exact products I used in this recipe. Brands and sizes of products could alter exact nutrition and should always be calculated independently.

