This week we had a taste of 70-degree weather and now I’m excited about spring! We were outside enjoying the sun when my daughter found a ladybug.
She is absolutely obsessed with ladybugs.
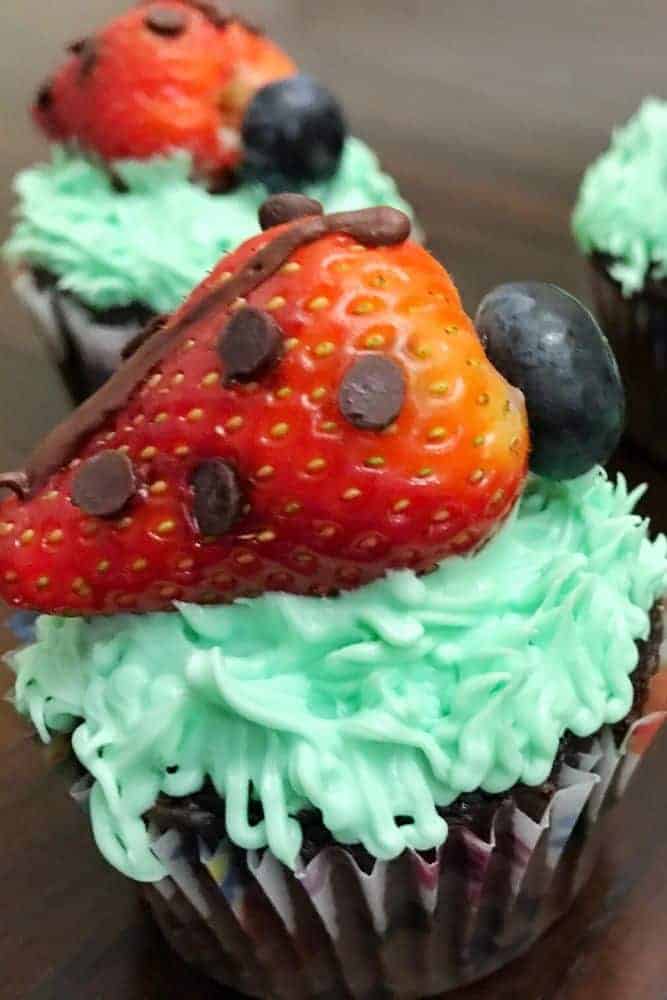
That’s why I wanted to put together these easy strawberry ladybug cupcakes recipe. They bring in the fresh fruit perfect for spring and summer.
This post may contain affiliate links. If you click on a link and make a purchase, I may receive a small commission at no extra cost to you. For more information, please read my disclaimer.
We have an entire strawberry garden in our backyard. We started it with just 4 plants and it’s grown to more than 30 in the last 2-3 years.
Come strawberry season in mid-June, the garden is over-flowing with strawberries. We have so many, we’re constantly finding new ways to use them.
Ironically, despite how sweet strawberries can be, they are lower in sugar than most fruits. They are even a low-glycemic food!
One full cup of sliced strawberries contains 8 grams of sugar whereas apples and bananas contain 13 grams and 30 grams in the same amounts.
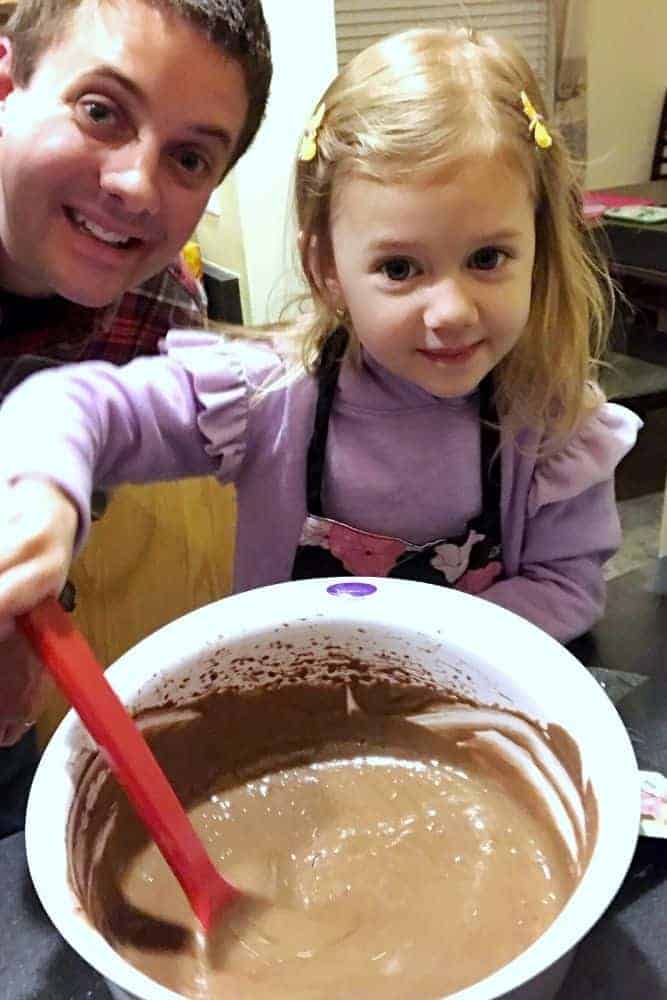
These strawberry ladybug cupcakes are so easy, my 3-year-old daughter helped make them. She helped put the batter together and helped me assemble the ladybugs
Her favorite part was stirring the batter.
These cupcakes may not be “healthy,” but they do encourage a fun way to help get your kid’s fruit intake for the day.
Talk about a delicious treat!
How to Make the Strawberry Ladybug Cupcakes
First, you’ll want to make your favorite cupcake mix. We used chocolate to make the actual cupcake look like dirt.
Feel free to use your favorite homemade cake recipe, but I like to keep things easy and use a boxed cake mix for these.
Once the cupcakes are baked, let them cool completely. This part is crucial as it allows the frosting to stay in place and not melt.
How to Make Grass Frosting on Cupcakes
To make the grass frosting, you just need a grass tip. This tip is so cheap and fun to use!
Mix in some green food coloring into the vanilla frosting and mix well together. Start with less food coloring and add more in as you want.
Each type of food coloring requires different amounts. I used gel food coloring since that’s what we had on hand.
Scoop the green frosting into a piping bag with the grass tip attached.
Start by frosting the grass in the center and working outward. To make it look like grass, just make quick little strokes upward and inward.
Feel free to look at this grass frosting Youtube tutorial for a great visual how-to.
As you’re making the grass, it may look a bit messy. That’s okay. It’ll start to look cleaner toward the outside of the cupcake and look like grass.
Grass is messy anyway!
Related Posts:
Easy Homemade Garlic Bread with Make-Ahead Garlic Sauce
How to Assemble and Make the Strawberry Ladybug
You can keep the green on the strawberries or use a straw to pop it off. To do this, take a plastic straw and place it on the bottom and push it up through the green of the strawberry.
The green should pop right off. If you miss it slightly, just use your finger to get the rest out. It should come off easily.
Take the strawberry and place 8 mini chocolate chips on it. 4 on both sides to look like ladybug spots.
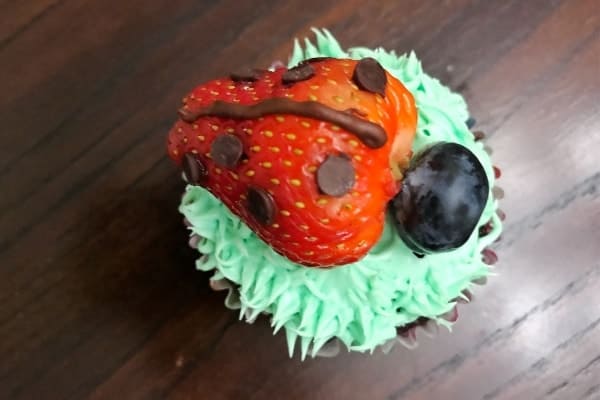
Then place the strawberry in the center of the frosted cupcake and put a blueberry in front of it to make its head.
If they are not staying together easily, you can use half a toothpick to keep them in place. Just let everyone know to watch out for them!
Once the strawberry ladybug is in place, heat up about 1/2 cup of semi chocolate chips in a microwaveable bowl for about 60 seconds. Then stir until smooth.
Continue to microwave in 20 seconds increments until you can stir it smooth. Do not overcook or the mixture will start to get hard.
Scoop the chocolate into a piping bag with a narrow tip, like the Wilton #2 tip, and pipe one small line down the middle of the ladybug to create two separate wings.
If you’re feeling ambitious with an extra decorating idea, you can create small antennas by piping from the blueberry to the strawberry. You can even make little legs!
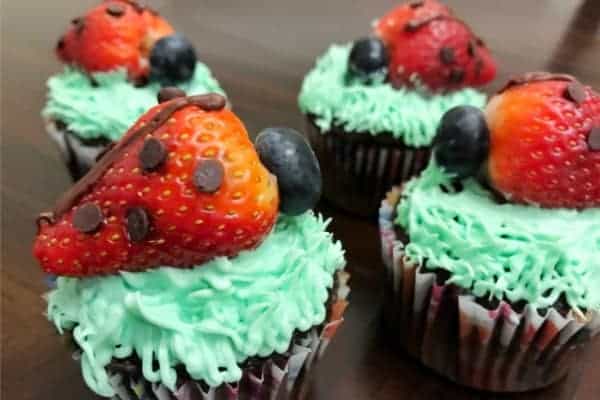
There you have it! Easy strawberry ladybug cupcakes perfect for any spring or summer garden party!
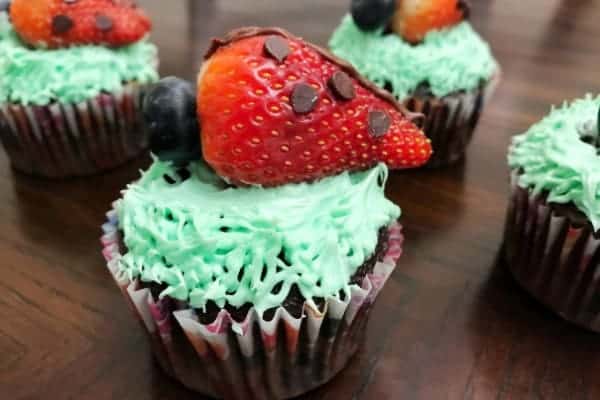
These are best refrigerated and eaten within 24-48 hours to keep the fruit fresh.
Strawberry Ladybug Cupcakes
Ingredients
- 1 box of cake mix and needed ingredients
- 16 ounces white frosting
- green food coloring
- 3/4 cup mini chocolate chips
- 24 whole strawberries without greens
- 24 blueberries
- 12 toothpicks optional
Instructions
- Bake cupcake mix per directions on box and let cool completely.
- Add green food coloring to frosting and stir well to make frosting green.
- Place frosting in a piping bag with a grass tip (see above) and pipe frosting onto each cupcake. Start from the middle and work outward using a quick upward stroke.
- Place 8 mini chocolate chips on each strawberry (4 on each side) to make "ladybug spots" then put 1 strawberry in the middle of each cupcake.
- Put a blueberry in front of the top of the strawberry to create its head.*
- Heat remaining mini chocolate chips in a microwave for about 60 seconds. Stir until smooth. Continue to microwave in 20 second increments if needed. Do not overcook!
- Place melted chocolate chips into a clean piping bag with a narrow tip and pipe a thin line down the ladybug’s back to help create two separate wings.**
Notes
Nutrition
This nutrition information is based on the exact products I used in this recipe. Brands and sizes of products could alter exact nutrition and should always be calculated independently.

